



Proper school recognition display HDMI-CEC configuration is the difference between a hall of fame that greets every visitor automatically and one that requires a staff member to manually switch inputs every morning. HDMI-CEC (Consumer Electronics Control) is a protocol built into virtually every modern display and media player, enabling connected devices to send power, input, and control commands to each other over the same HDMI cable. When configured correctly, it ensures your school’s recognition display wakes up, switches to the right input, and runs without intervention through every bell schedule.
When configured incorrectly — or left at factory defaults — HDMI-CEC often produces the opposite: unexpected shutdowns, input hijacking by a DVD player or laptop on a different port, and power-on sequences that never complete. For athletic directors and facilities teams relying on a digital hall of fame to represent the school’s history to visitors, parents, and recruits, these interruptions are more than inconvenient. They undermine the credibility of the entire recognition program.
This guide walks through every layer of HDMI-CEC configuration relevant to school recognition environments: enabling the protocol correctly across display brands, controlling the power-on sequence, locking the active input, disabling sub-features that cause conflicts, and verifying the full boot sequence before opening day.

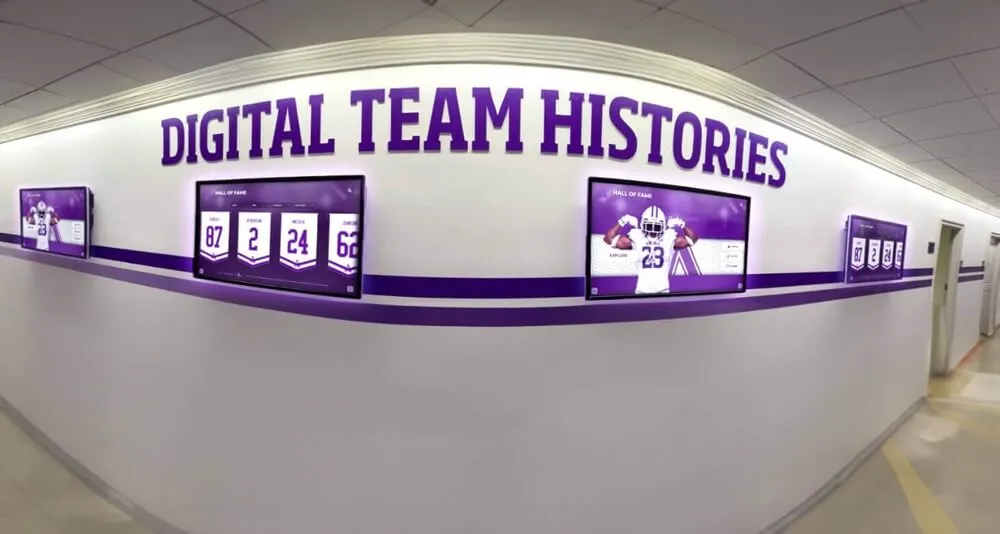
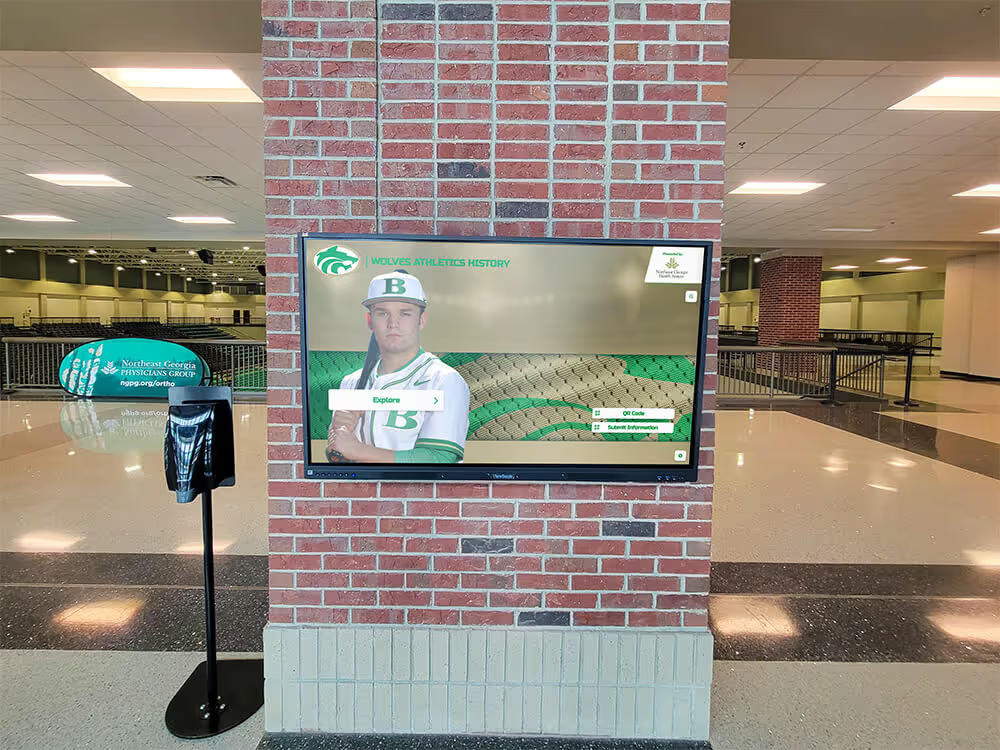
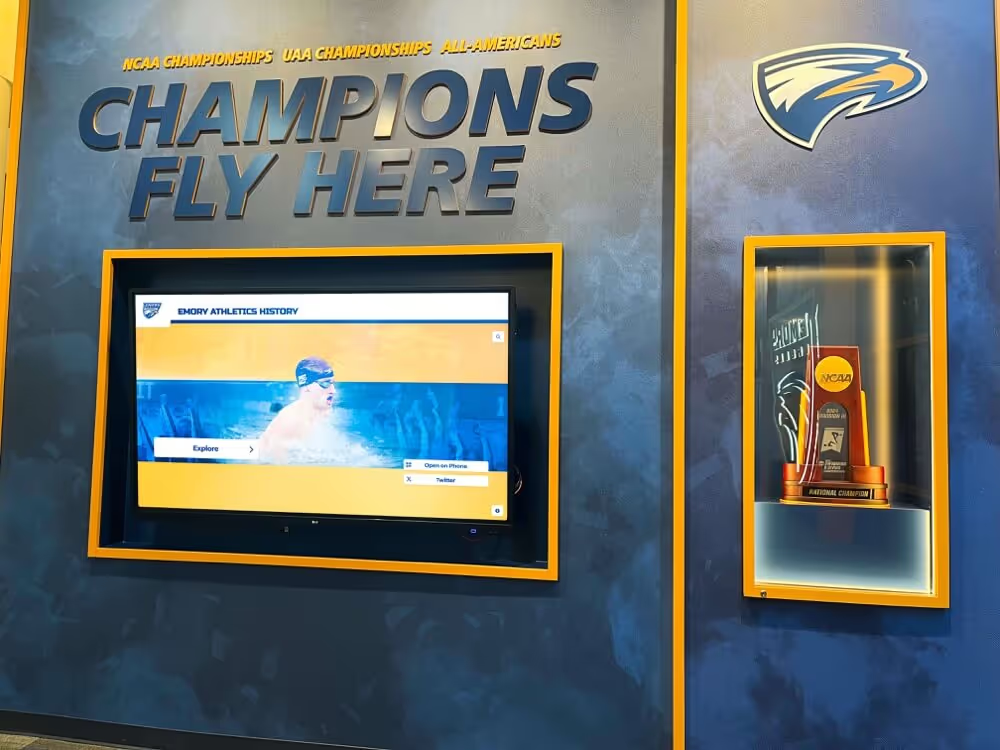
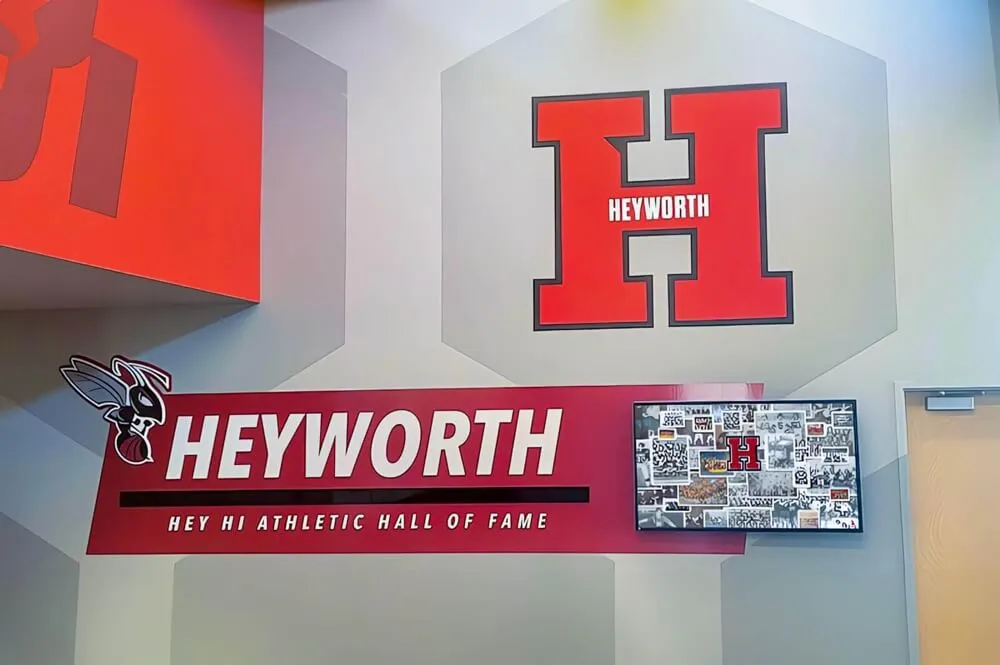
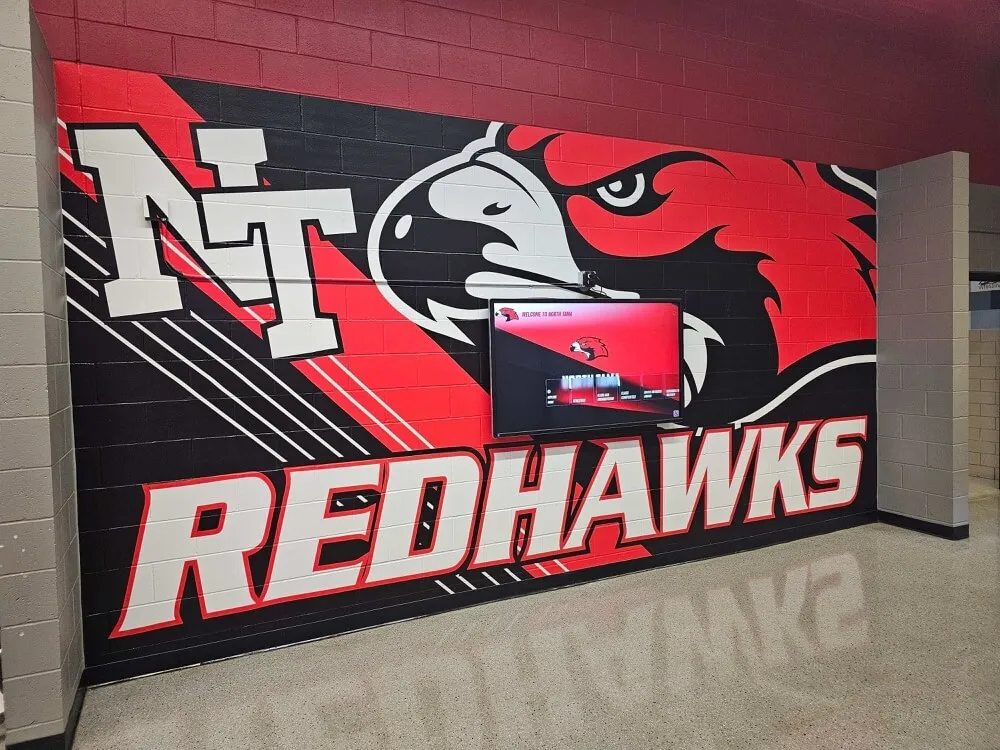
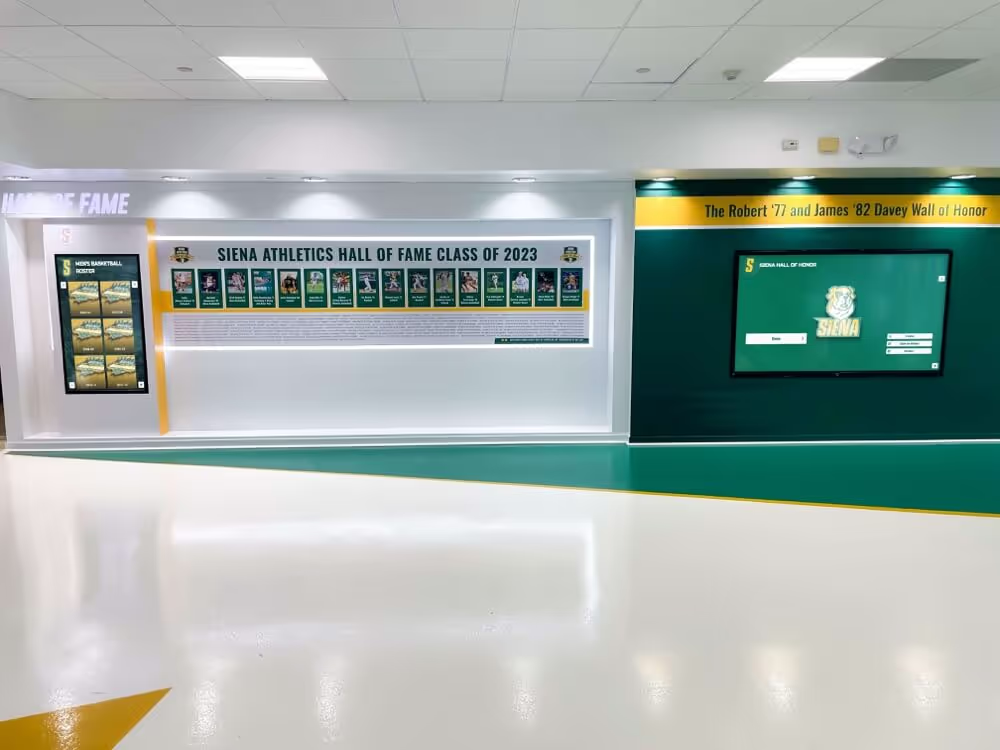
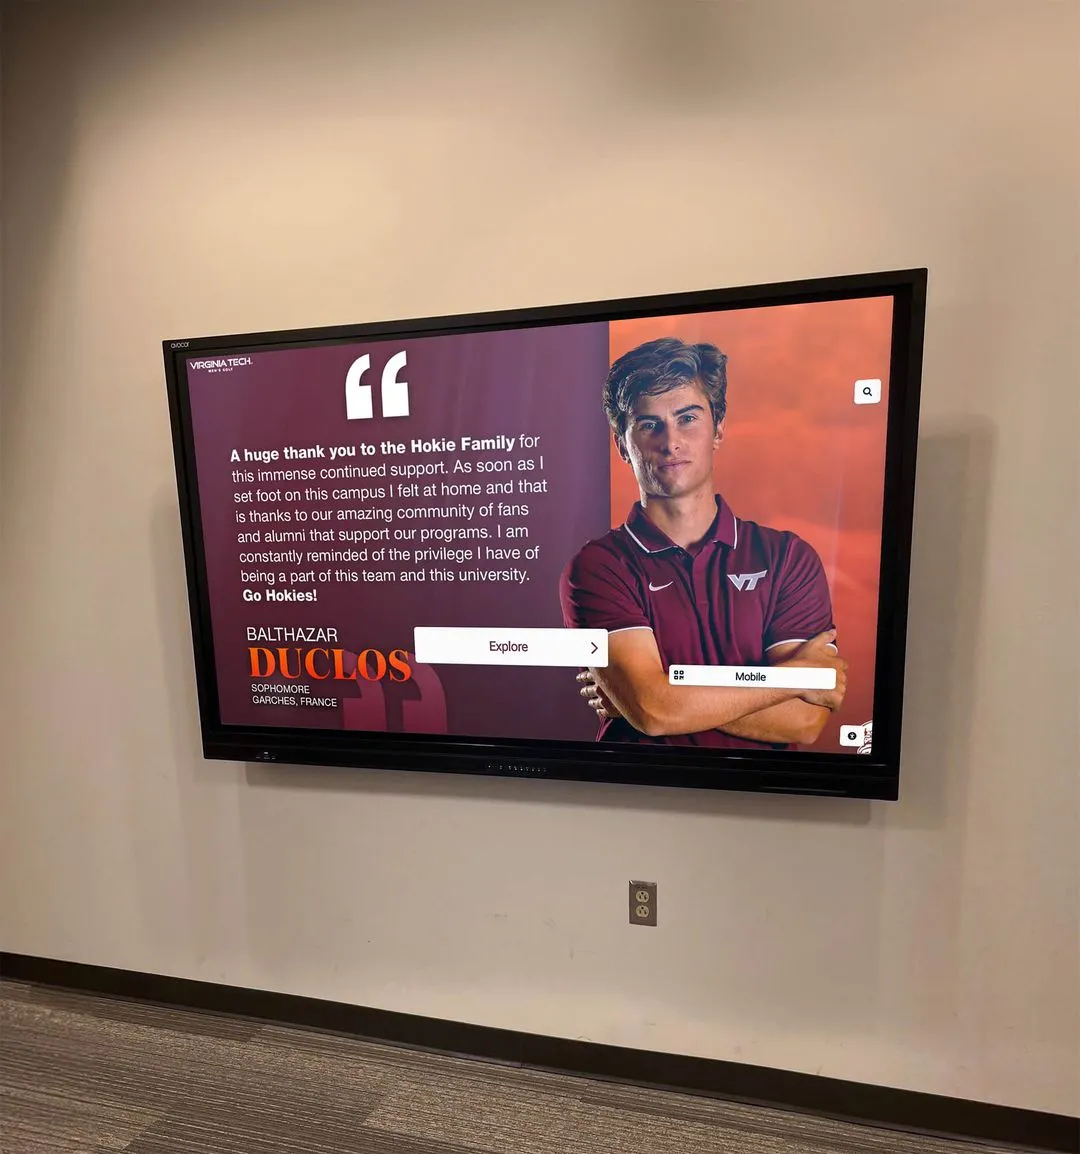
A well-configured recognition display powers on automatically and stays on the correct input — no manual intervention required each morning.
What HDMI-CEC Does and Why It Matters for School Recognition Displays
HDMI-CEC lets one device on an HDMI bus send commands to any other device: power on, power off, switch active source, adjust volume, and more. Up to 15 devices can share a single CEC bus across a chain of HDMI connections. That capacity is useful in consumer home theater setups — but in a school recognition environment, it creates a coordination problem.
A recognition display is a single-purpose system: it runs one media player or PC, shows one software application, and serves one audience. Every other device that touches the same HDMI chain is a potential CEC intruder capable of reassigning the active input or triggering a shutdown. Common culprits include laptop connections at a presenter podium, Blu-ray players in a nearby trophy case cabinet, and streaming sticks plugged into unused HDMI ports on the same display.
Getting HDMI-CEC right for recognition displays requires three things:
- Enabling the right CEC functions — power-on handshake and active-source assertion
- Disabling the wrong CEC functions — volume passthrough, device auto-discovery, and standby propagation
- Validating the full boot sequence so the display lands on the correct input every time
Understanding this distinction separates a display that works reliably from one that requires a laminated workaround taped to the wall.
HDMI-CEC Brand Names and Where to Find Settings
Every major TV manufacturer implements HDMI-CEC under a proprietary brand name. Finding the correct setting requires knowing what your display calls it:
| TV Brand | CEC Brand Name | Typical Menu Path |
|---|---|---|
| Samsung | Anynet+ | Settings → General → External Device Manager → Anynet+ |
| LG | SimpLink | Settings → All Settings → General → SIMPLINK |
| Sony (Bravia) | Bravia Sync | Settings → Device Preferences → Inputs → TV side HDMI settings |
| Panasonic | VIERA Link | Setup → VIERA Link Settings |
| Philips | EasyLink | Setup → TV Settings → EasyLink |
| Sharp | Aquos Link | Settings → System → AQUOS LINK Setup |
| Hisense | Hisense CEC | Settings → System → HDMI CEC |
| TCL | CEC Control | Settings → System → HDMI CEC Control |
For commercial display panels (NEC, LG Commercial, Samsung QM/QN series, Philips Professional), CEC settings are often in a separate “Signage” or “Control” menu that appears only when the display is in commercial mode. Check the commercial user manual — not the consumer manual — for the correct path.
On the media player or PC side, CEC must also be enabled:
- Intel NUC / mini PC: CEC is handled at the OS level; use a USB-CEC adapter and companion software if the HDMI port does not natively expose CEC
- Raspberry Pi: Add
hdmi_ignore_cec_init=1toconfig.txtto prevent the Pi from triggering display standby when it reboots - Amazon Fire Stick / Apple TV: CEC is on by default and very aggressive — disable “Control other devices” in HDMI settings if it is not the primary recognition source
- Dedicated media players (BrightSign, DTEN, etc.): Consult vendor documentation for CEC passthrough behavior, as it varies significantly by firmware version
Configuring the Power-On Sequence
The most common HDMI-CEC problem in school recognition installations is a display that does not wake up when the media player boots, or one that powers off when a second device is detected on another HDMI port.
Power-on sequence goal: Media player boots → sends “Active Source” CEC command → display wakes from standby → display switches to the correct HDMI input → recognition software appears.
To achieve this sequence reliably, work through the following steps in order. Skipping any step produces inconsistent behavior that is difficult to diagnose after the fact.
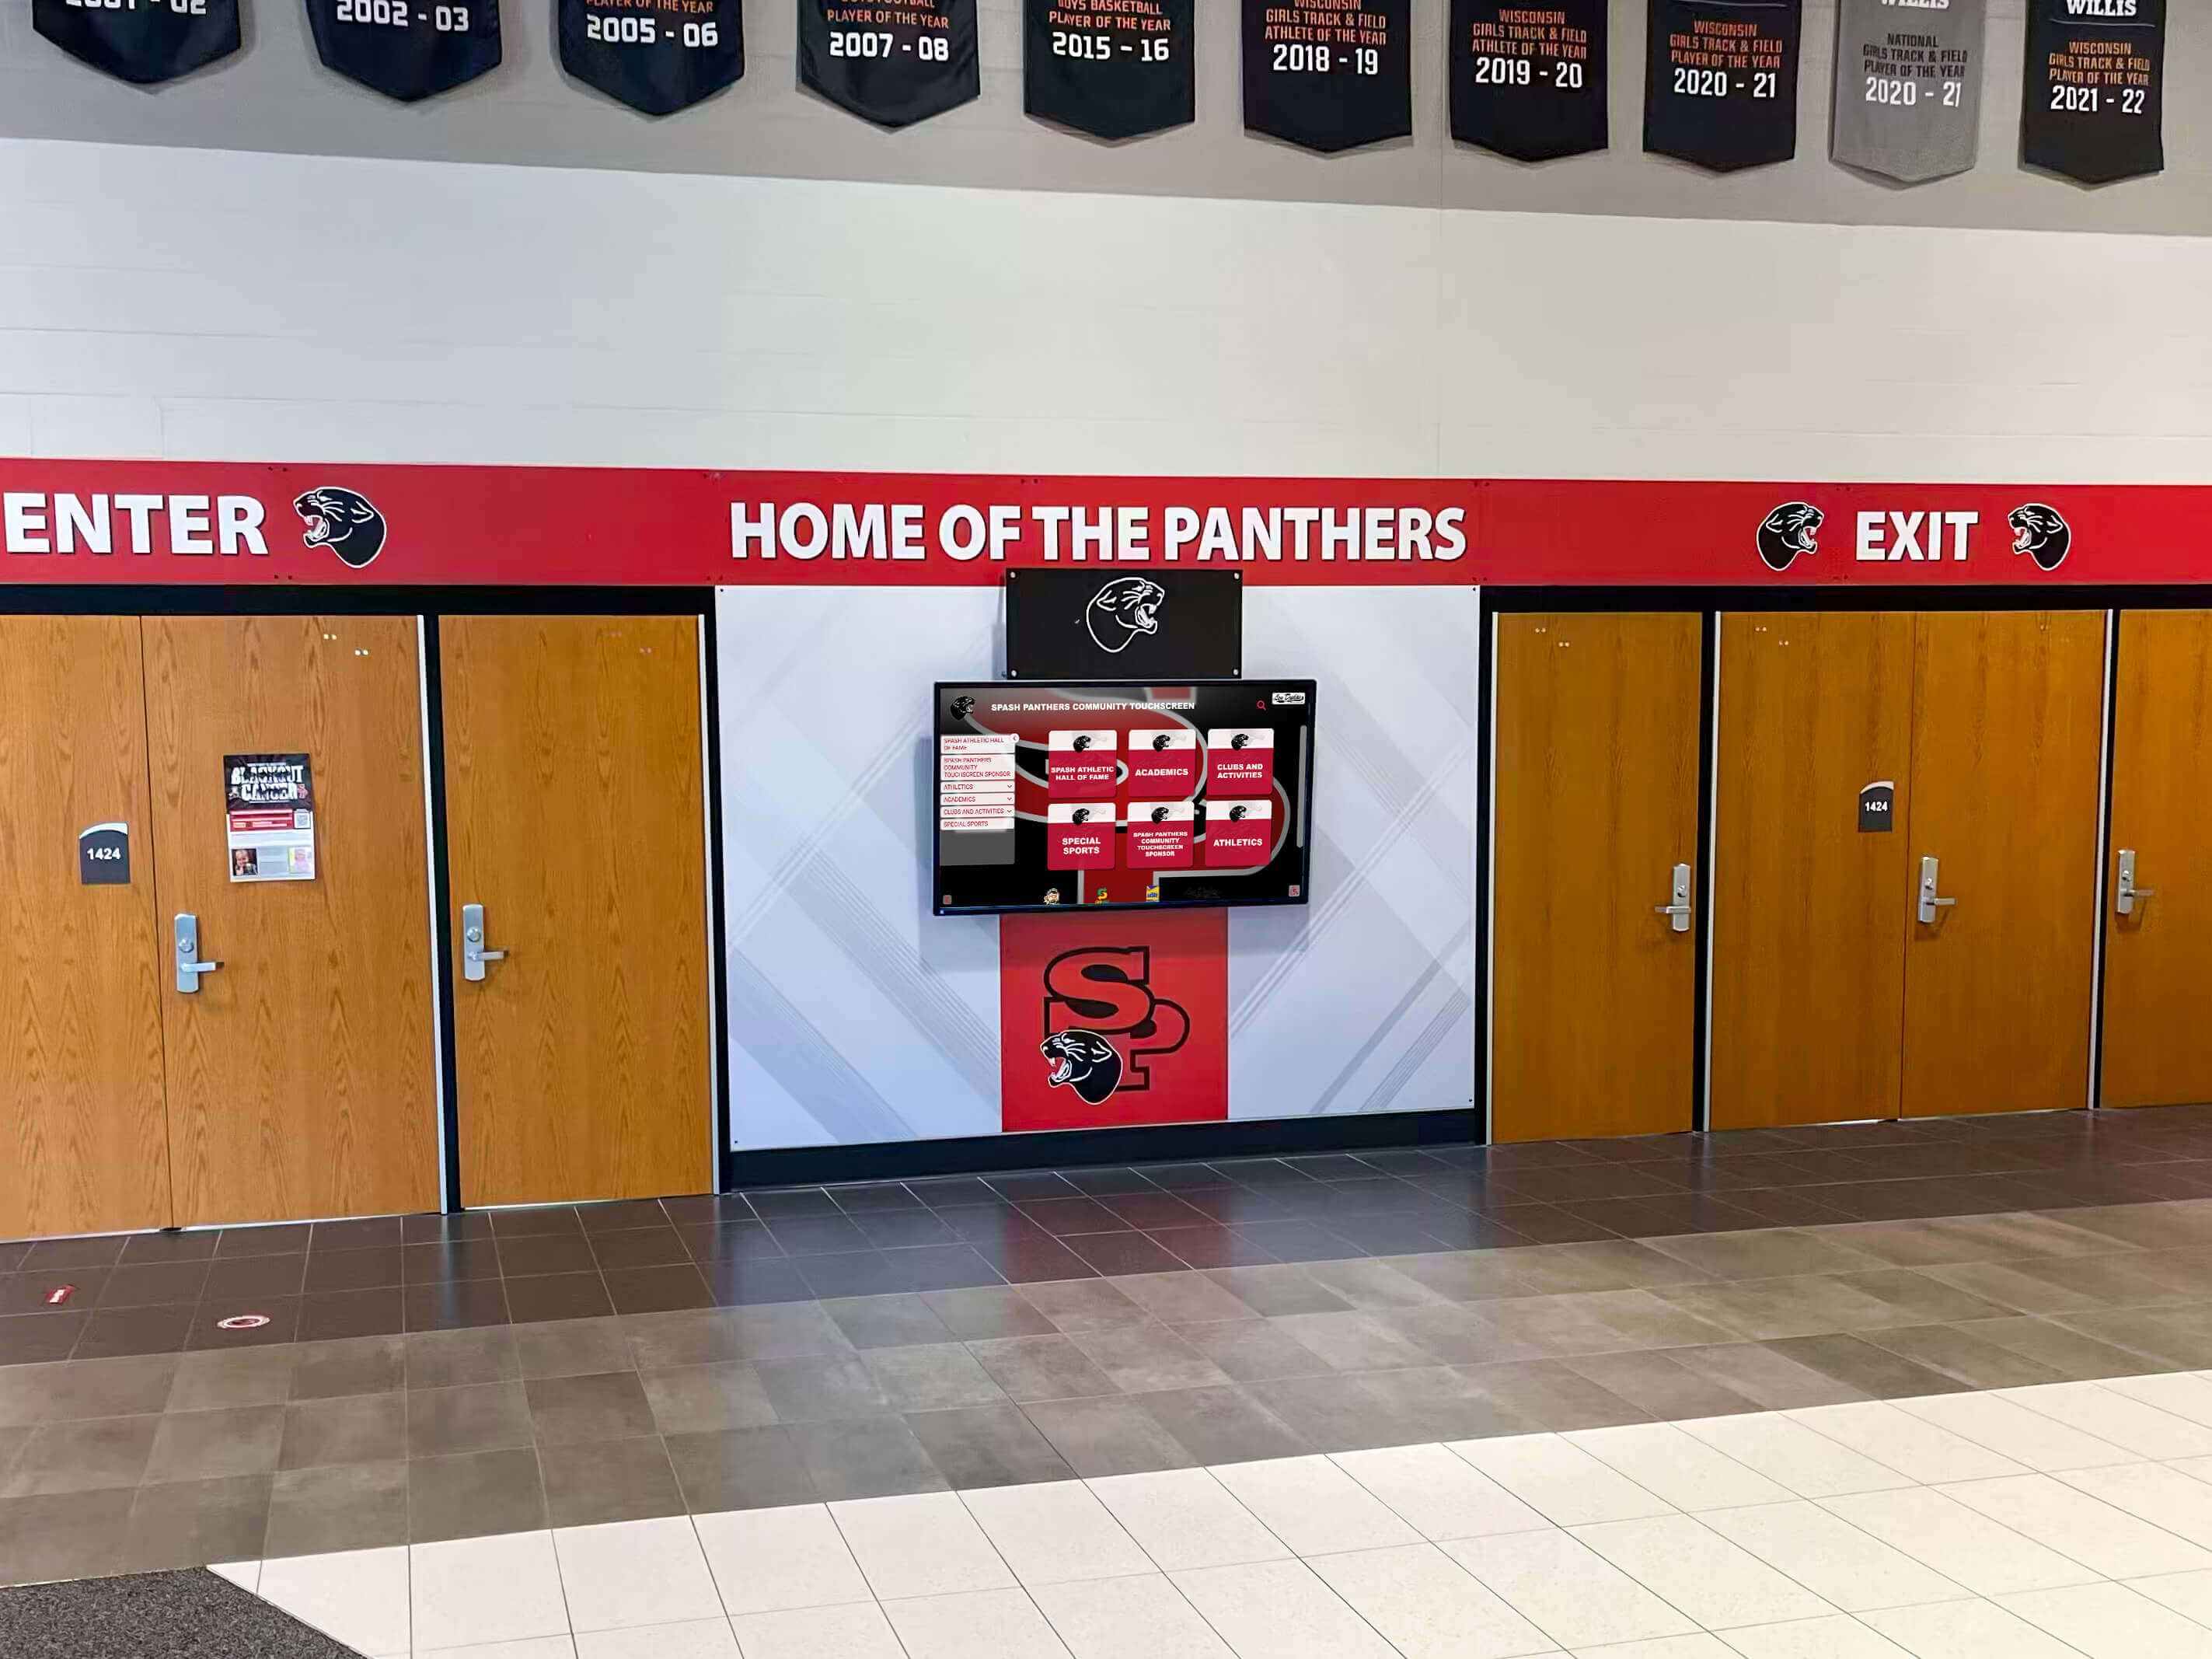
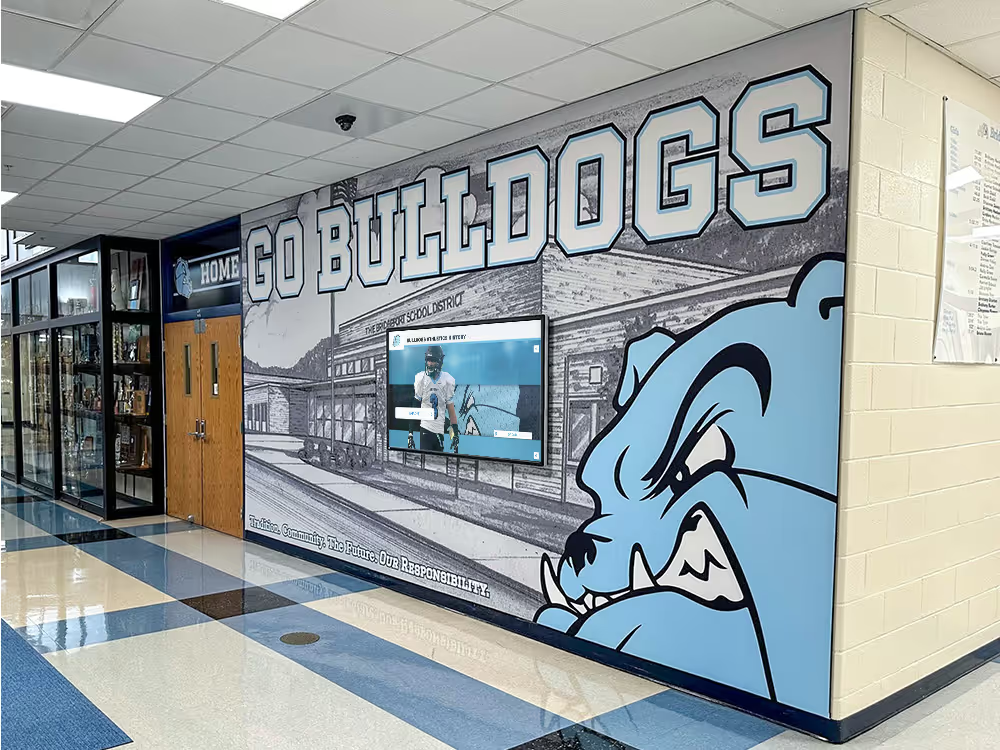
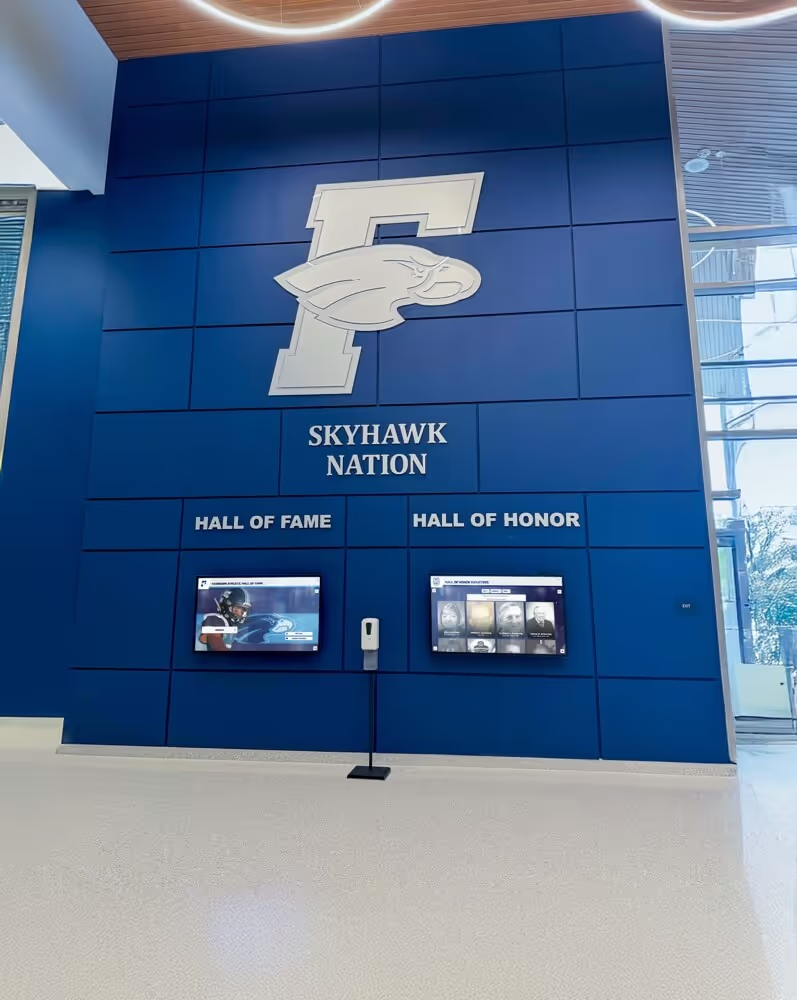
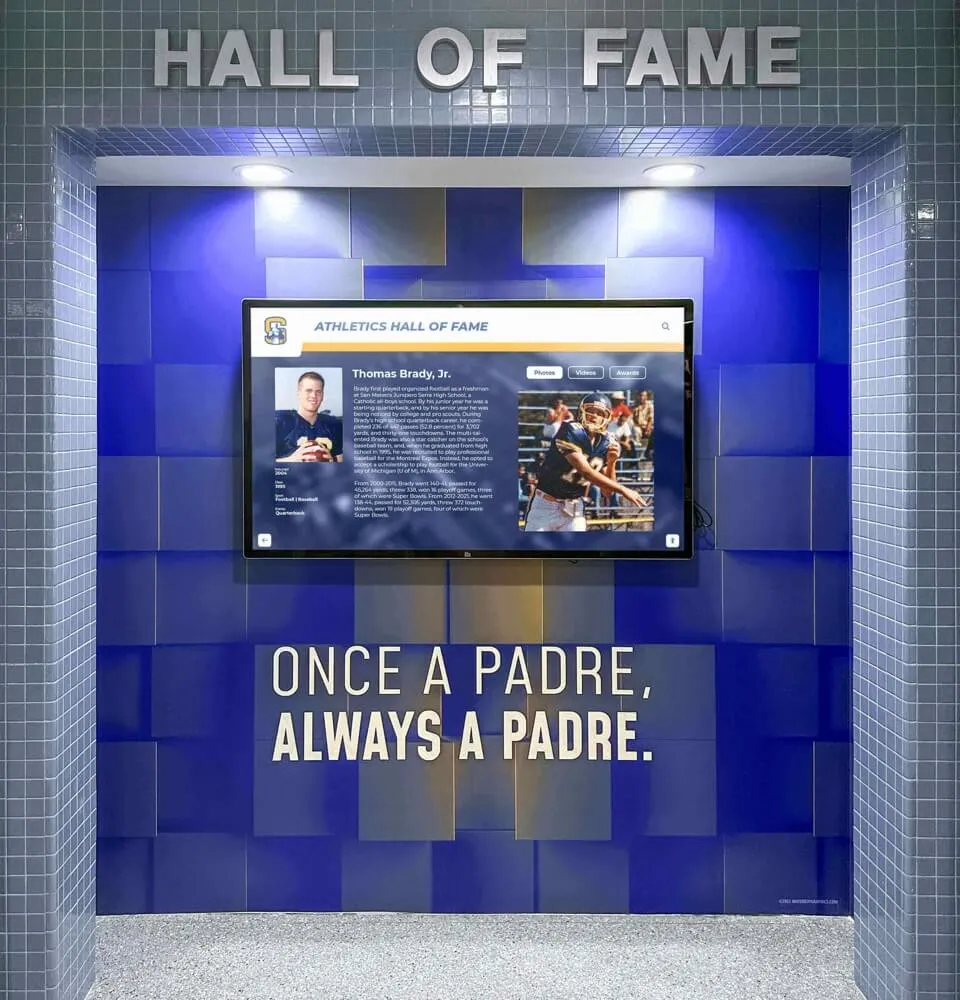
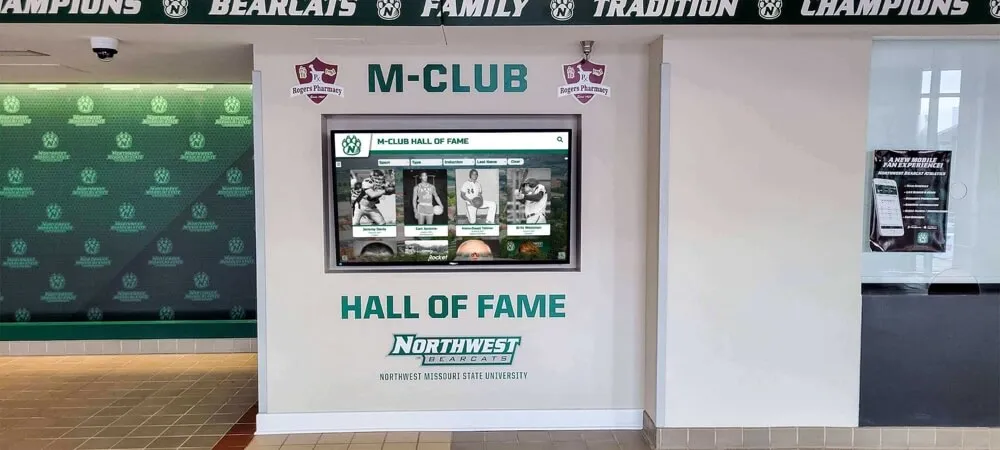
Correctly configured displays show recognition content automatically when the building opens — without staff intervention each morning.
Step 1: Enable CEC globally on the display. Find the brand-specific CEC toggle (Anynet+, SimpLink, etc.) and enable it. On commercial displays, also confirm that CEC is enabled per-port for the HDMI input the recognition player uses.
Step 2: Set the display’s power-on behavior to “Auto.” In most commercial displays, this is labeled “Auto Power On,” “Auto Source Switch,” or “Power On with Linked Device.” Enable it. This tells the display to wake from standby whenever a CEC-active device on the linked HDMI port sends an Active Source command.
Step 3: Assign the recognition player to HDMI 1. Plug the recognition media player into HDMI 1. Most displays and players treat HDMI 1 as the default active source. Keeping the player on HDMI 1 reduces the chance of input drift after a display firmware update resets input preferences.
Step 4: Enable “Active Source” assertion on the media player. On a Windows PC, this may require CEC adapter software (Pulse-Eight USB-CEC is widely used). On embedded players, enable “Assert Active Source on Boot.” This command tells every other CEC device on the bus that the media player owns the display — other devices should not attempt to switch the input away.
Step 5: Disable “Standby All Devices” on the display. This CEC sub-function sends a power-off command to all connected devices when the display enters standby. In a recognition environment, this shuts down the media player when a staff member turns off the display after hours. Depending on the player’s scheduled restart behavior, it may not recover cleanly. Disable this function and manage media player power separately.
Step 6: Test the boot sequence without staff present. Simulate a morning startup: put the display in standby, then power-cycle the media player. The display should wake and show recognition content within 30–60 seconds. If it lands on the wrong input or stays blank, return to Step 4 — the Active Source command may not be reaching the display before it completes its own boot sequence.
Preventing Unwanted Input Switching
Input hijacking is the most disruptive HDMI-CEC failure mode in school environments. It occurs when a second device connected to the same display sends an Active Source command and reassigns the display away from recognition content.
Common sources of unwanted Active Source commands include conference laptops connected to a second HDMI port, portable Blu-ray players in the same AV cabinet, streaming sticks left plugged in, and even game consoles in weight room TV setups that share a display with recognition content.
To prevent input hijacking:
Disable CEC on unused HDMI ports. Samsung, LG, and Sony commercial displays allow per-port CEC control. Disable CEC on every HDMI port except the one used by the recognition player. This creates a hardware-level block — other devices can be physically connected but cannot issue CEC commands that affect the display.
Enable Input Lock or Source Lock. Many commercial displays offer a setting that prevents the active input from changing regardless of CEC commands. Find this under “Signage” or “OSD” settings. Once locked, the display ignores Active Source commands from all other devices.
Use a CEC-blocking HDMI switch for multi-source installations. If a presentation laptop needs access to the same display, use a matrix switch or HDMI selector that strips CEC signals from its secondary inputs. This allows physical video connection while blocking software-level control from the laptop.
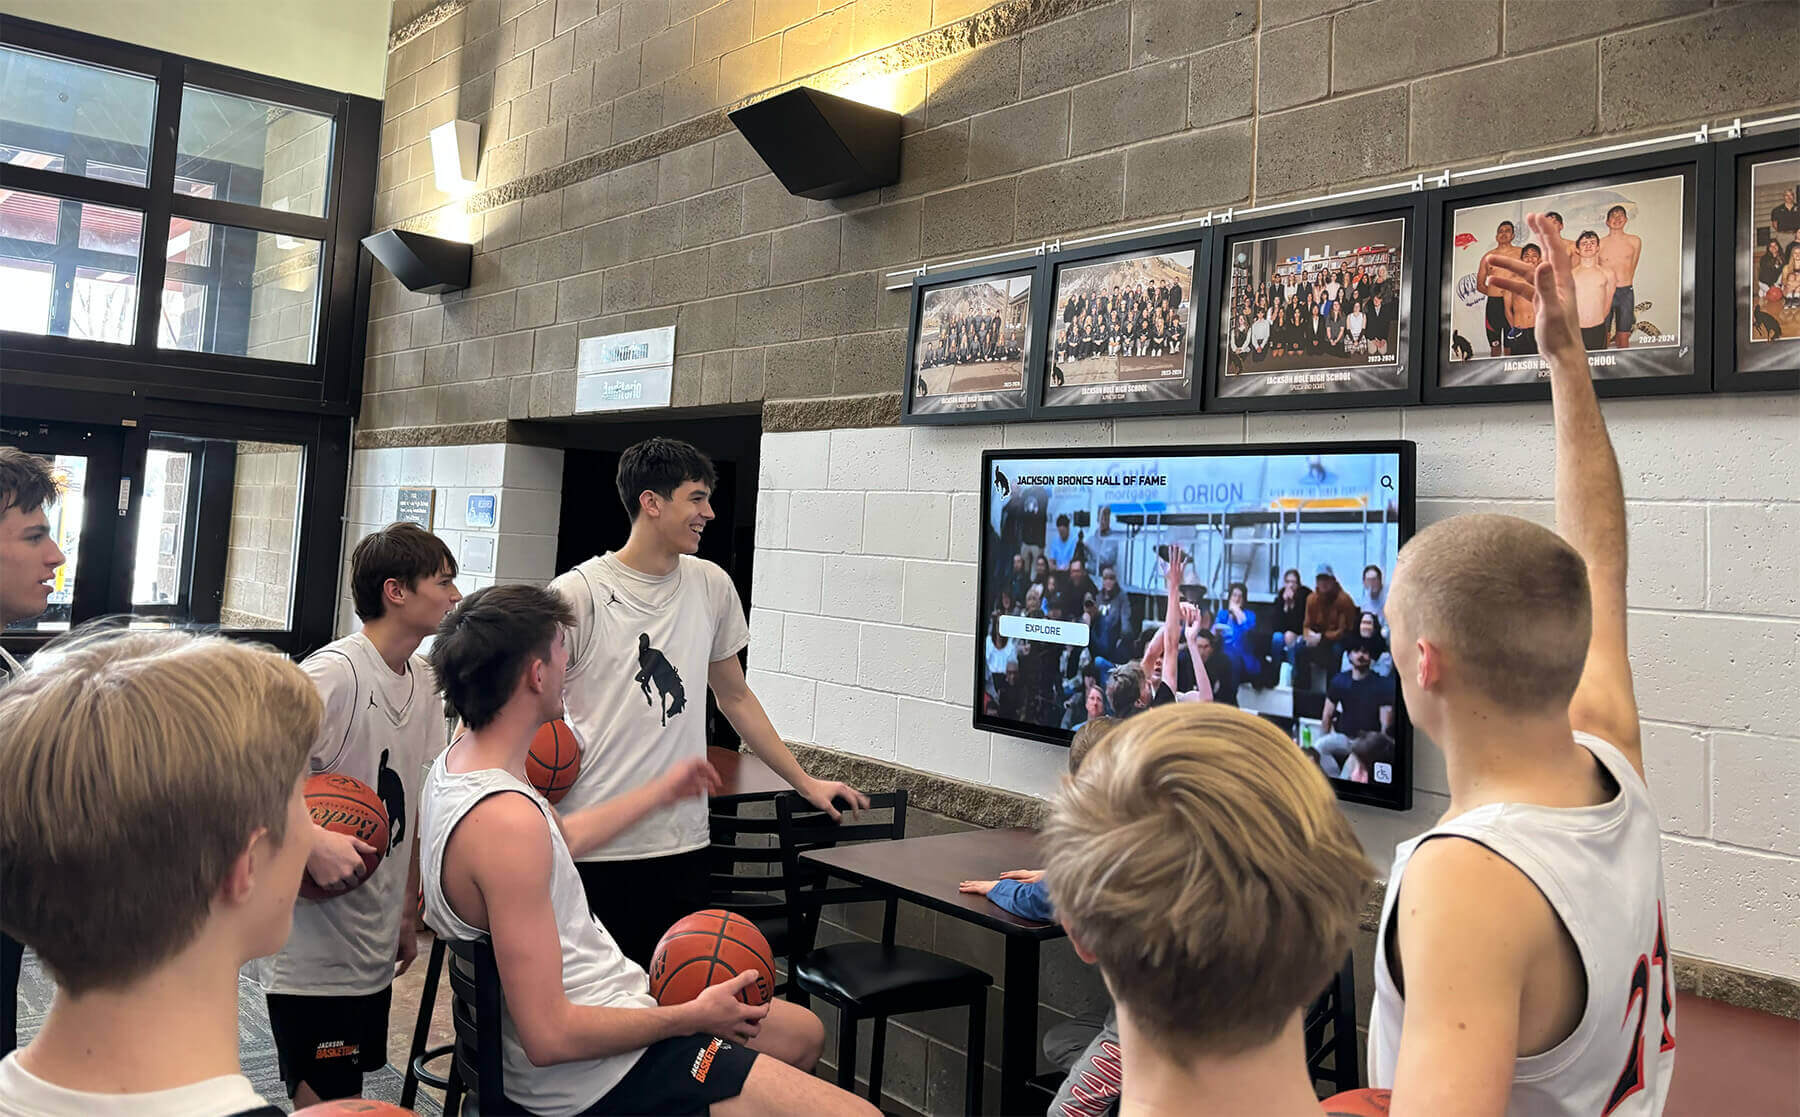
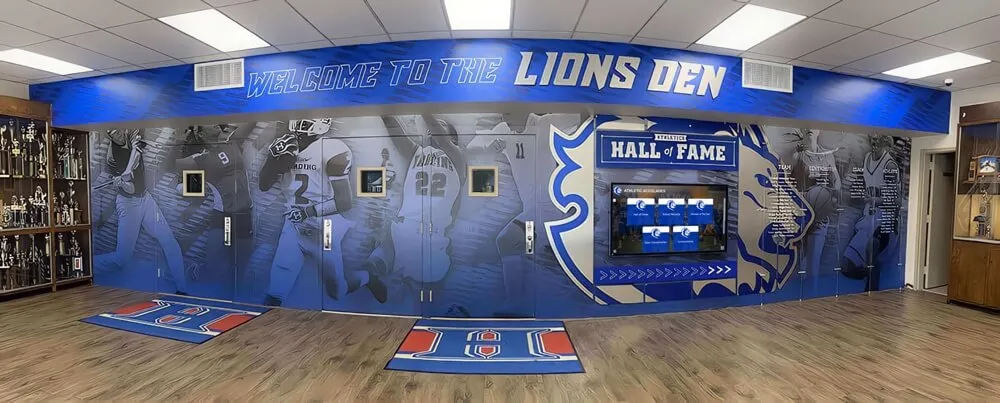
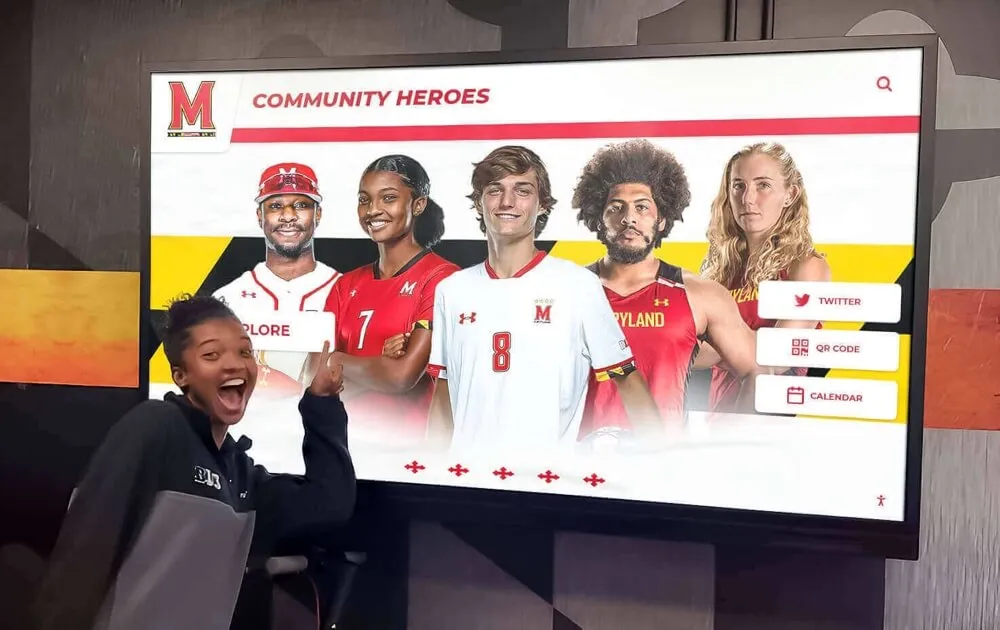
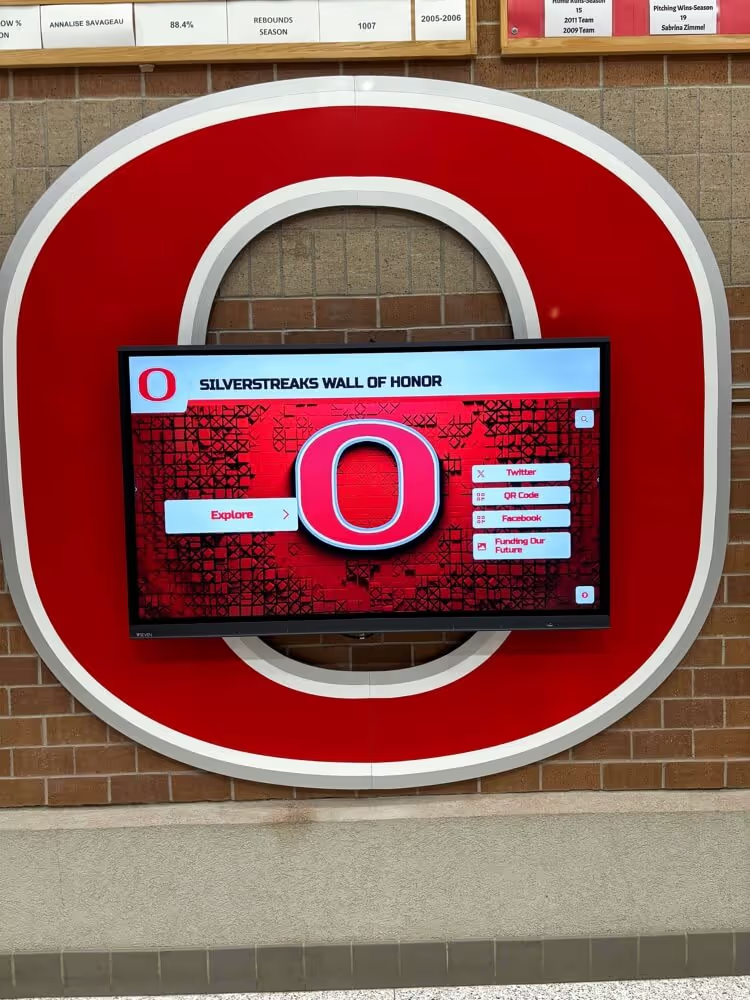
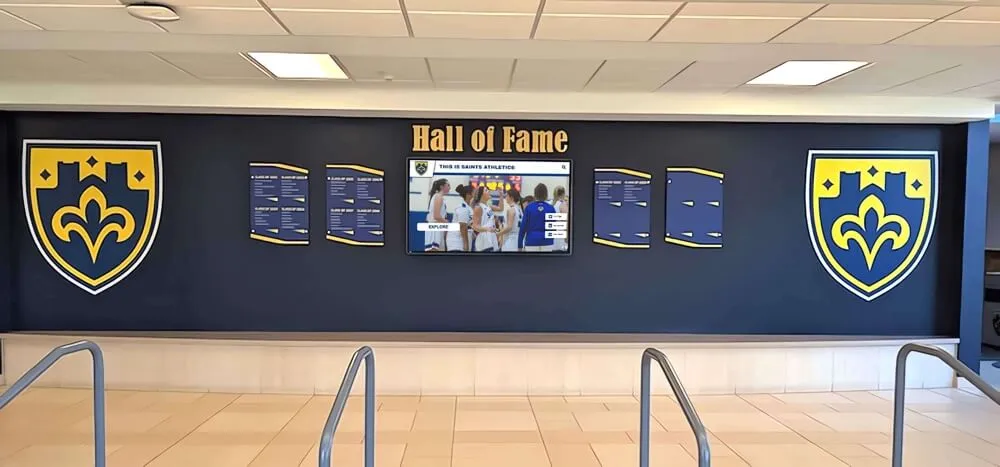
Recognition displays that stay on the correct input keep students and visitors engaged with athletic history without requiring staff to monitor the AV system.
For digital displays covering state championship records and athletic history, losing the display to an unexpected input switch during a campus tour is an avoidable failure — and a correctable one with the right CEC port settings.
Scheduled Power Management Without CEC Conflicts
Schools typically want recognition displays to follow a schedule: on during school hours, off in the evening. HDMI-CEC can support this — or fight it — depending on how scheduling is configured.
Recommended approach: Schedule at the media player, not at the display.
Use the recognition software’s built-in scheduling or the media player’s OS-level power management to control the display via CEC. Send a CEC “Power On” command at the start of the school day and a CEC “Standby” command at closing time. This keeps the display under the media player’s authority, not the display’s internal timer.
Avoid running both the display’s internal timer and the media player’s CEC scheduling simultaneously.
When both are active, the display’s internal timer may fire a power-off command at the same moment the media player sends a “Power On” command. Both signals arrive on the CEC bus simultaneously, and the result is unpredictable: the display may power-cycle repeatedly, get stuck in standby, or enter an error state requiring a physical power cycle. Pick one control authority and disable the other.
Disable System Standby on the display.
The “System Standby” CEC command tells all connected devices to enter standby simultaneously. This is useful in consumer home theater setups but problematic in school environments where the recognition player needs to remain powered to serve web-based content, complete background software updates, or maintain a network connection for cloud-based content management.
Schools running multi-display recognition walls — a common approach for assembly programs or athletic hallway installations with two or more screens — face additional scheduling complexity. Each display may have slightly different CEC firmware behavior, causing staggered power-on times. Add a 15-second delay to the Active Source command to give all displays time to complete their boot sequences before recognition content appears.
Verifying CEC Configuration on Commercial Displays
Consumer TV verification is straightforward — you can watch the screen respond to commands in real time. Commercial display verification requires additional steps because commercial firmware adds layers of control that can override CEC behavior without any visible indication on-screen.
Verification checklist for commercial recognition displays:
- CEC master toggle is enabled
- CEC is enabled per-port on the recognition player’s HDMI input
- Active Source assert is enabled on the media player
- “Auto Power On” is linked to the correct HDMI port
- “Standby All Devices” is disabled
- Input Lock is enabled on all unused HDMI ports
- Display internal timer is disabled if using software scheduling
- Boot sequence test passes three consecutive times with no manual intervention
- Input hijack test passes: connect a second device and confirm the display stays on the recognition input
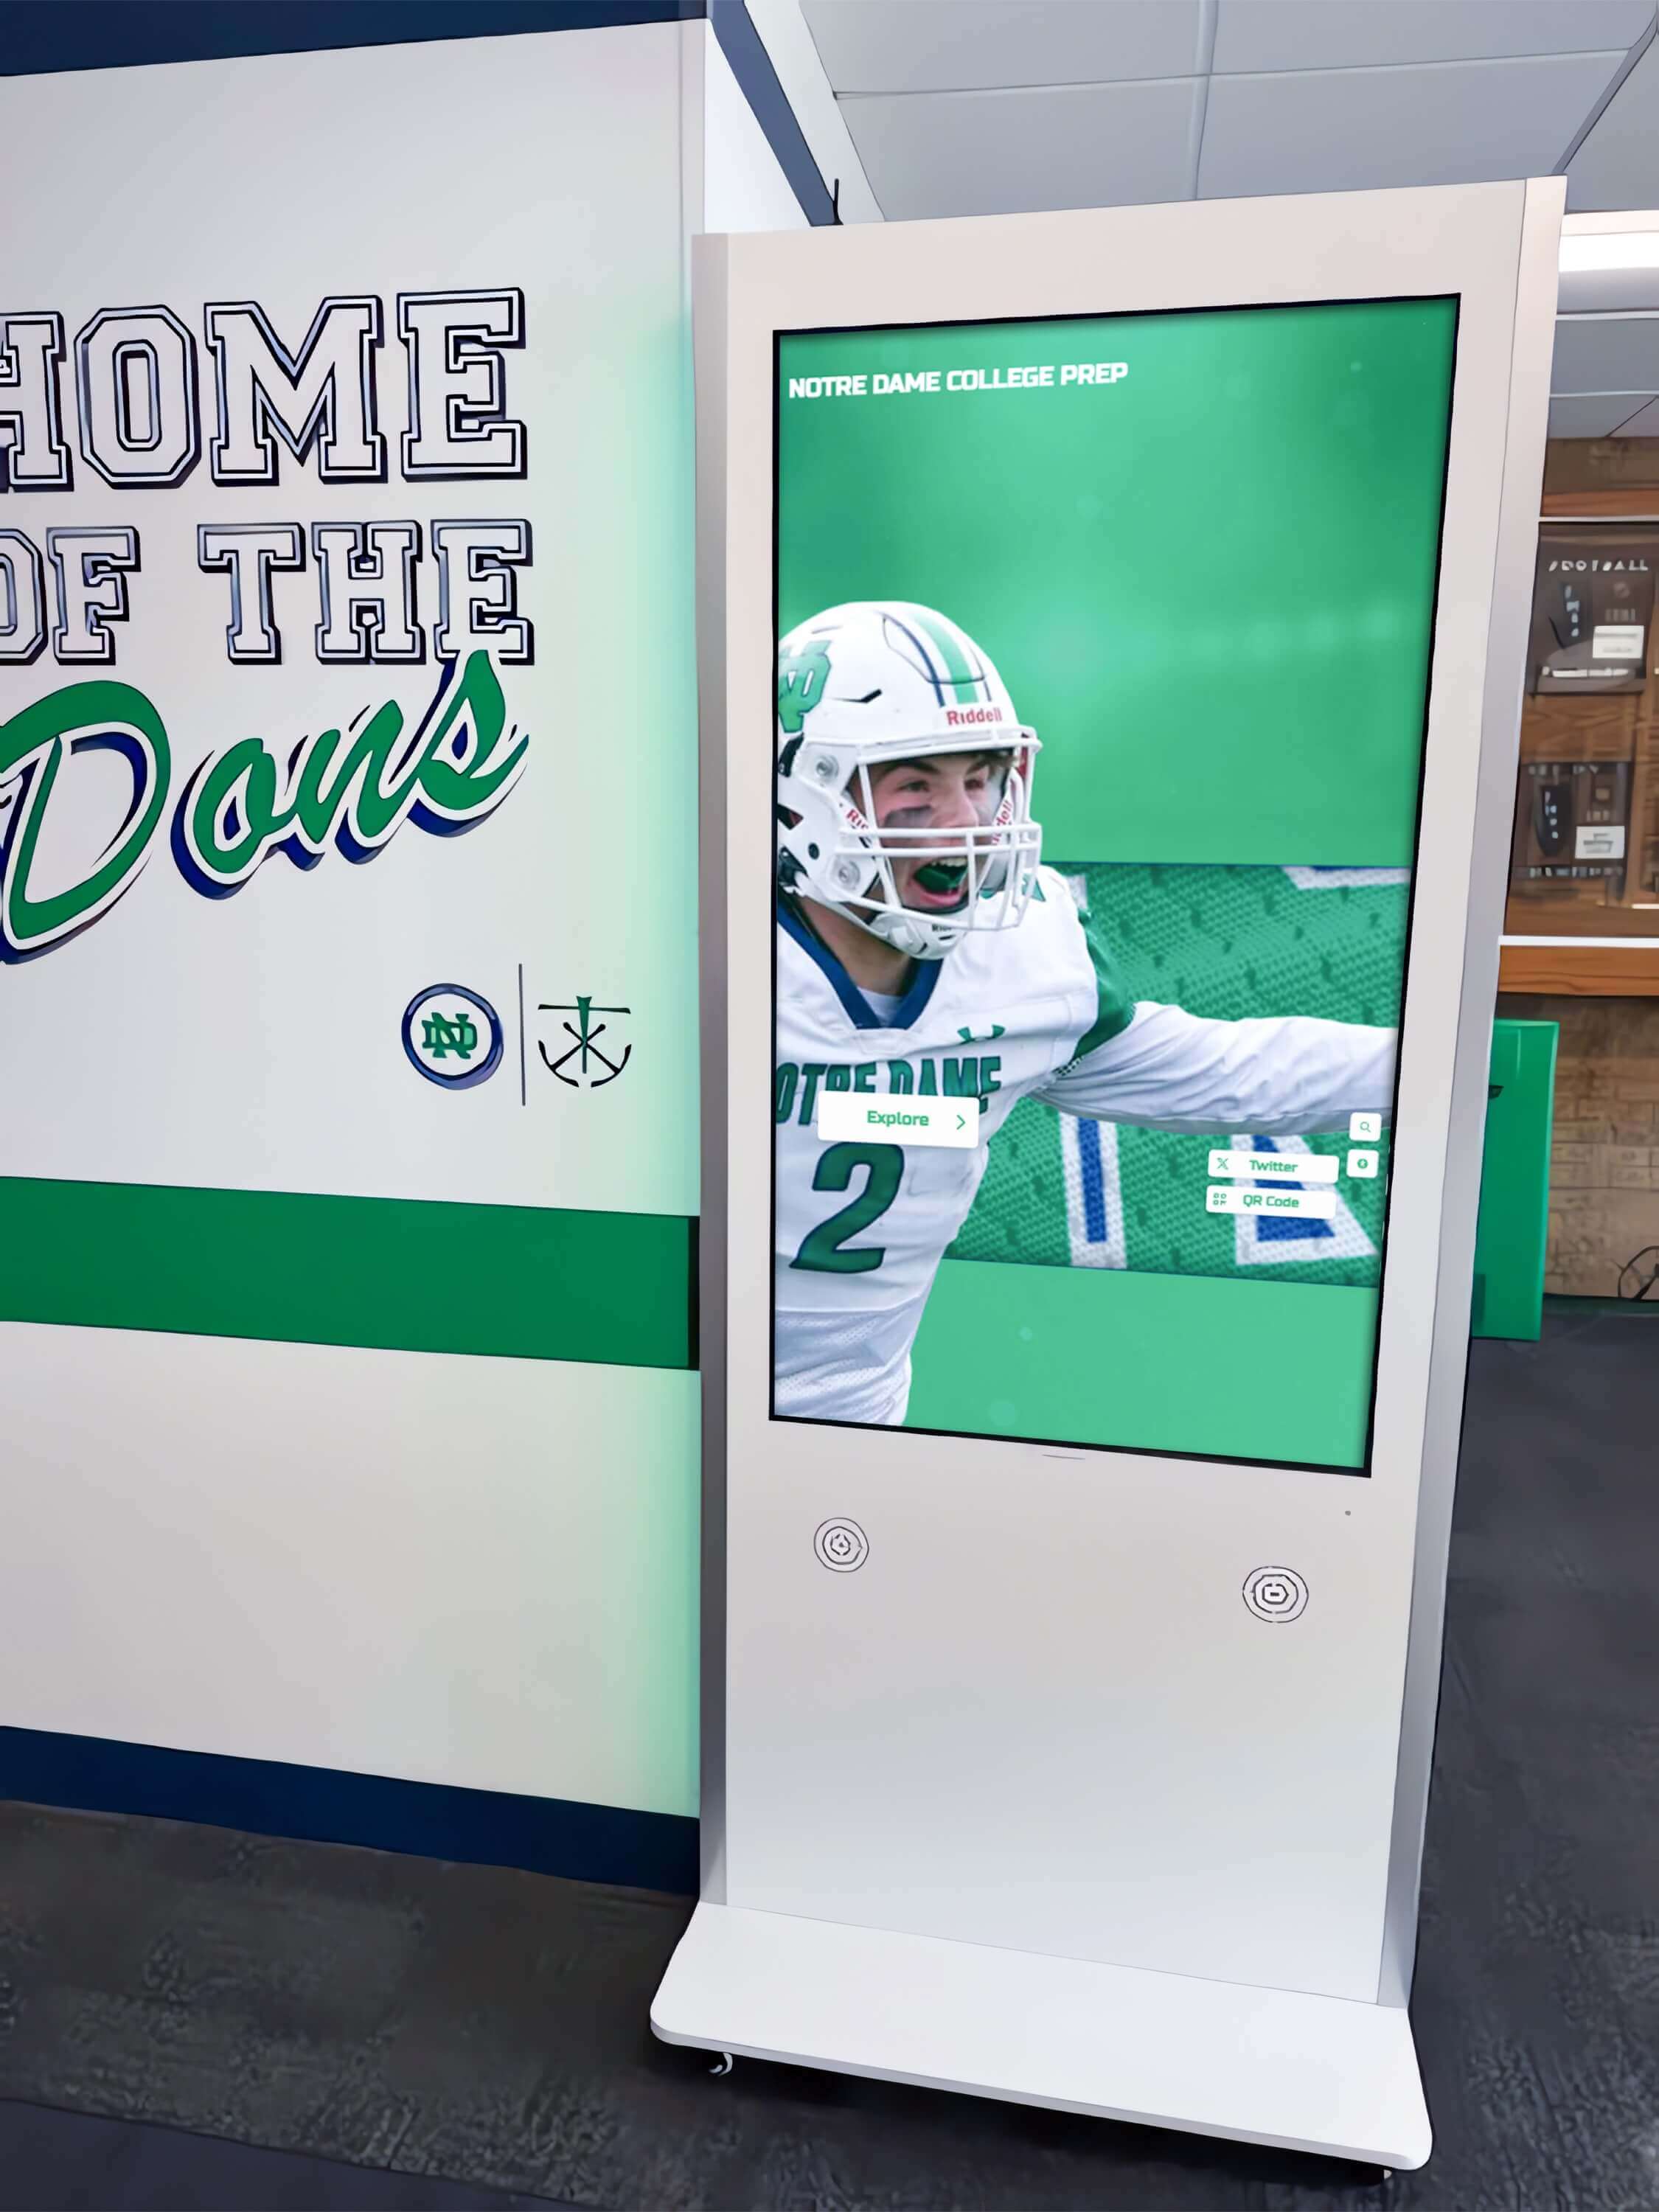
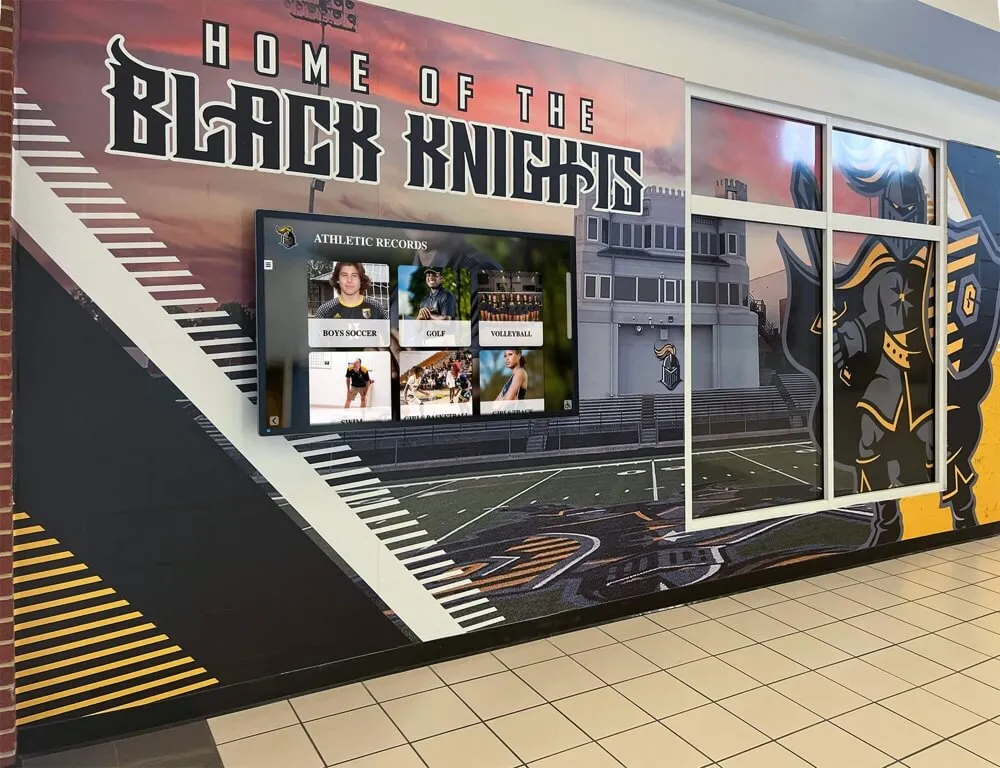
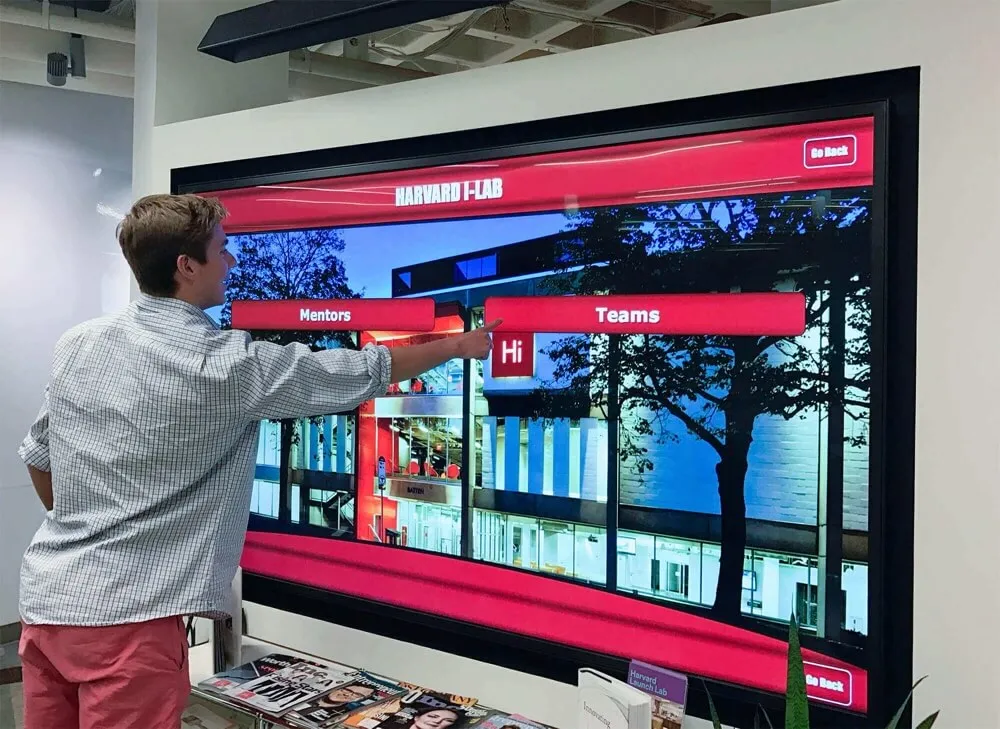
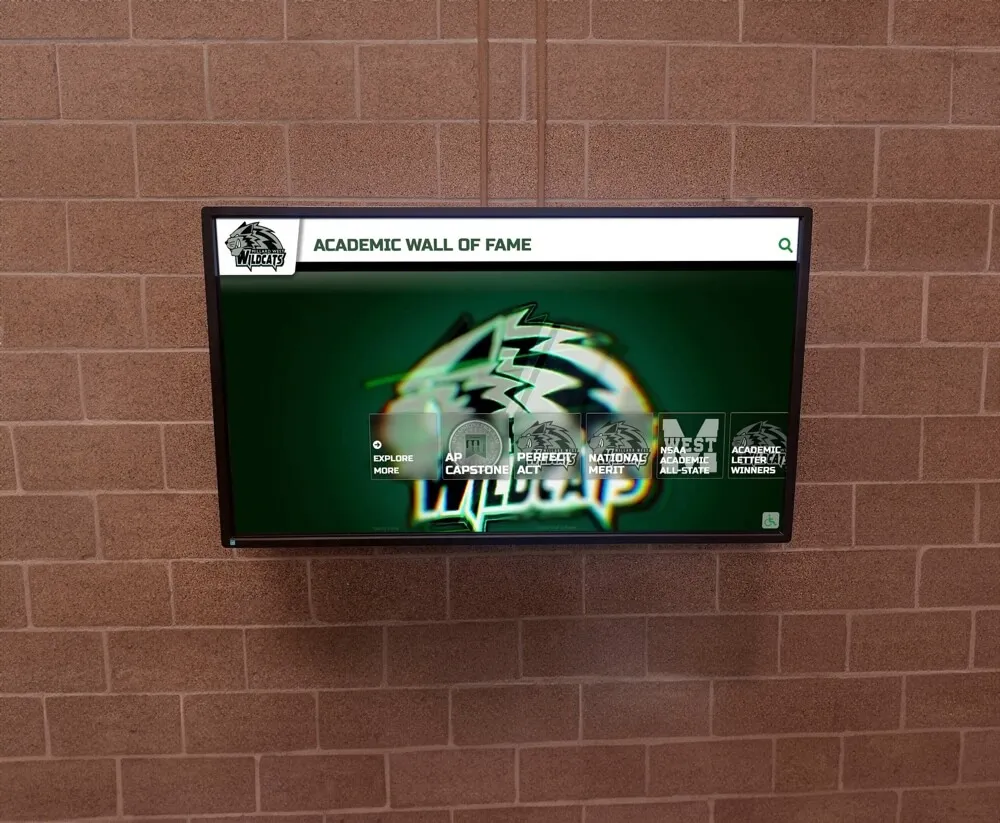
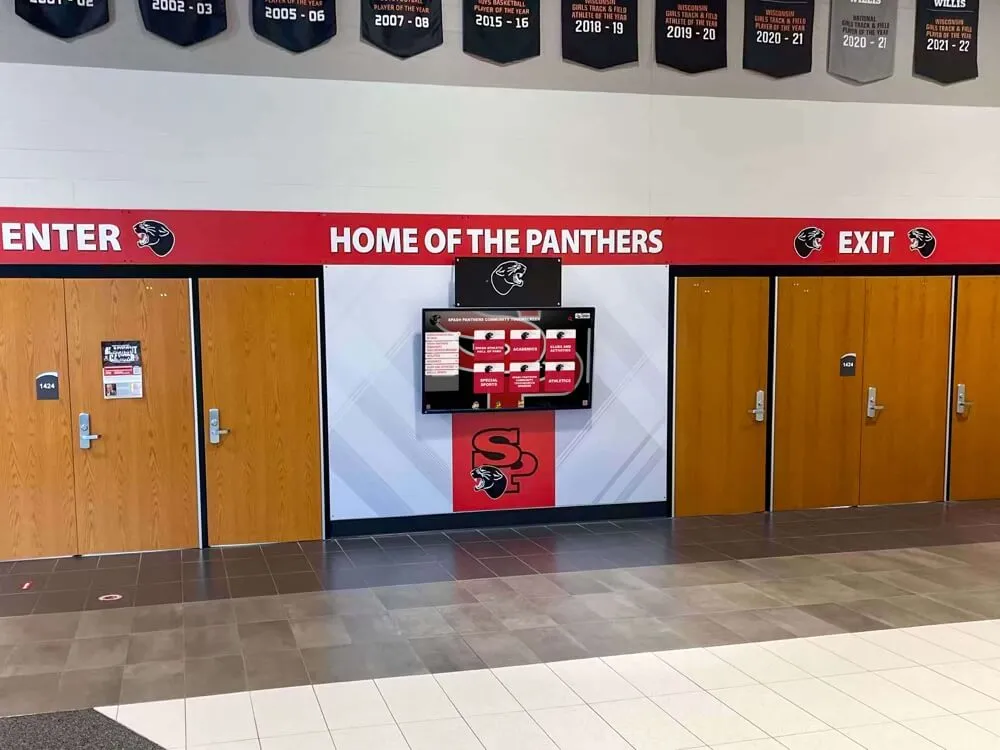
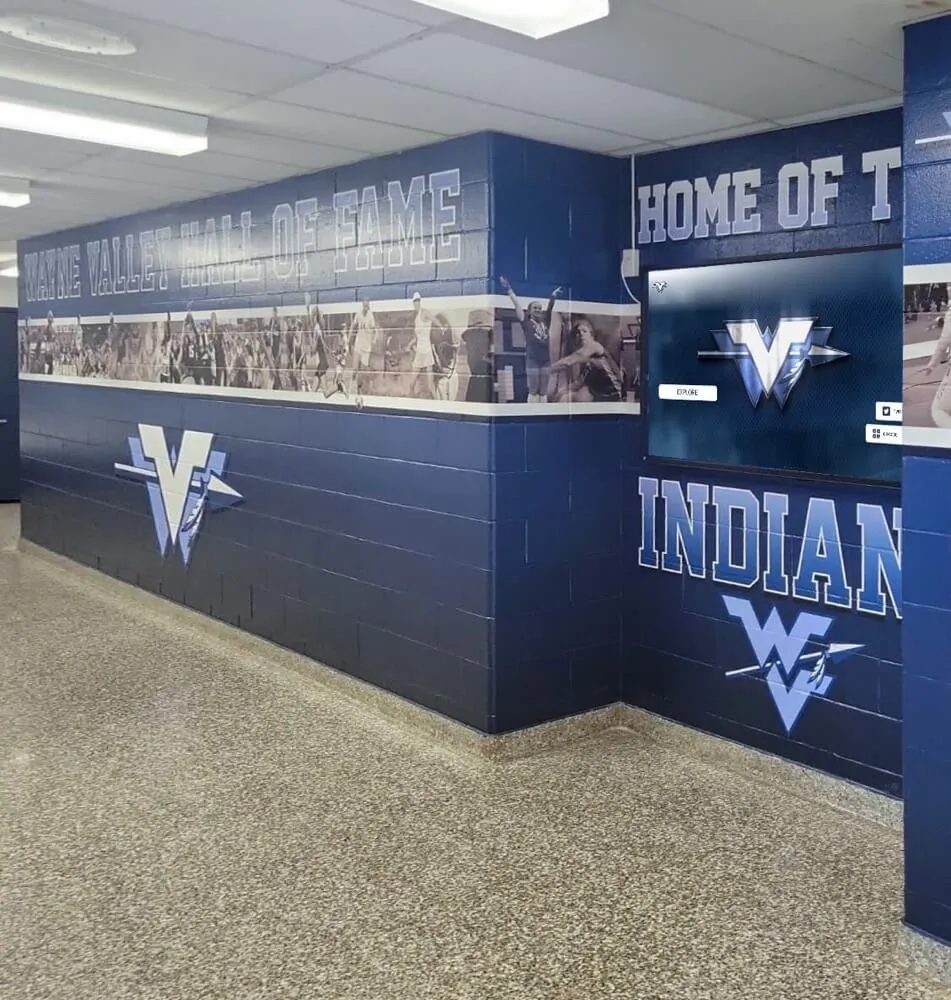
Hallway kiosk installations require careful CEC planning to coordinate display power and input switching without daily staff oversight.
Document every setting you change along with the firmware version of each display. When a firmware update resets CEC settings to factory defaults — a common occurrence on commercial panels — this documentation lets you restore the full configuration in minutes rather than troubleshooting from scratch.
CEC Considerations for Touchscreen Recognition Displays
Touchscreen recognition displays introduce a hardware layer that standard HDMI-CEC guides often skip. Most interactive touchscreens use a USB connection for touch input alongside HDMI for video. This split matters for CEC configuration in ways that affect daily operation.
The display panel handles CEC; the touch controller does not. Commands must be sent and received through the HDMI connection only. Ensure the media player is connected to the display’s native HDMI input — not a downstream HDMI port on an external touchframe or overlay device.
Touchscreen displays often have different CEC firmware than standard commercial panels. Verify with your display vendor that CEC is supported and documented for your specific model. Some commercial touchscreens disable CEC entirely to prevent accidental display control during active user sessions — which is itself a valid configuration choice for dedicated recognition kiosks.
Use “One Touch Play” carefully on touchscreen recognition displays. This CEC function automatically switches the display to the active media player source when the player starts content. On a dedicated recognition kiosk, this is generally desirable — but verify it does not conflict with any dual-source configurations where a secondary output or video mirror is also active.
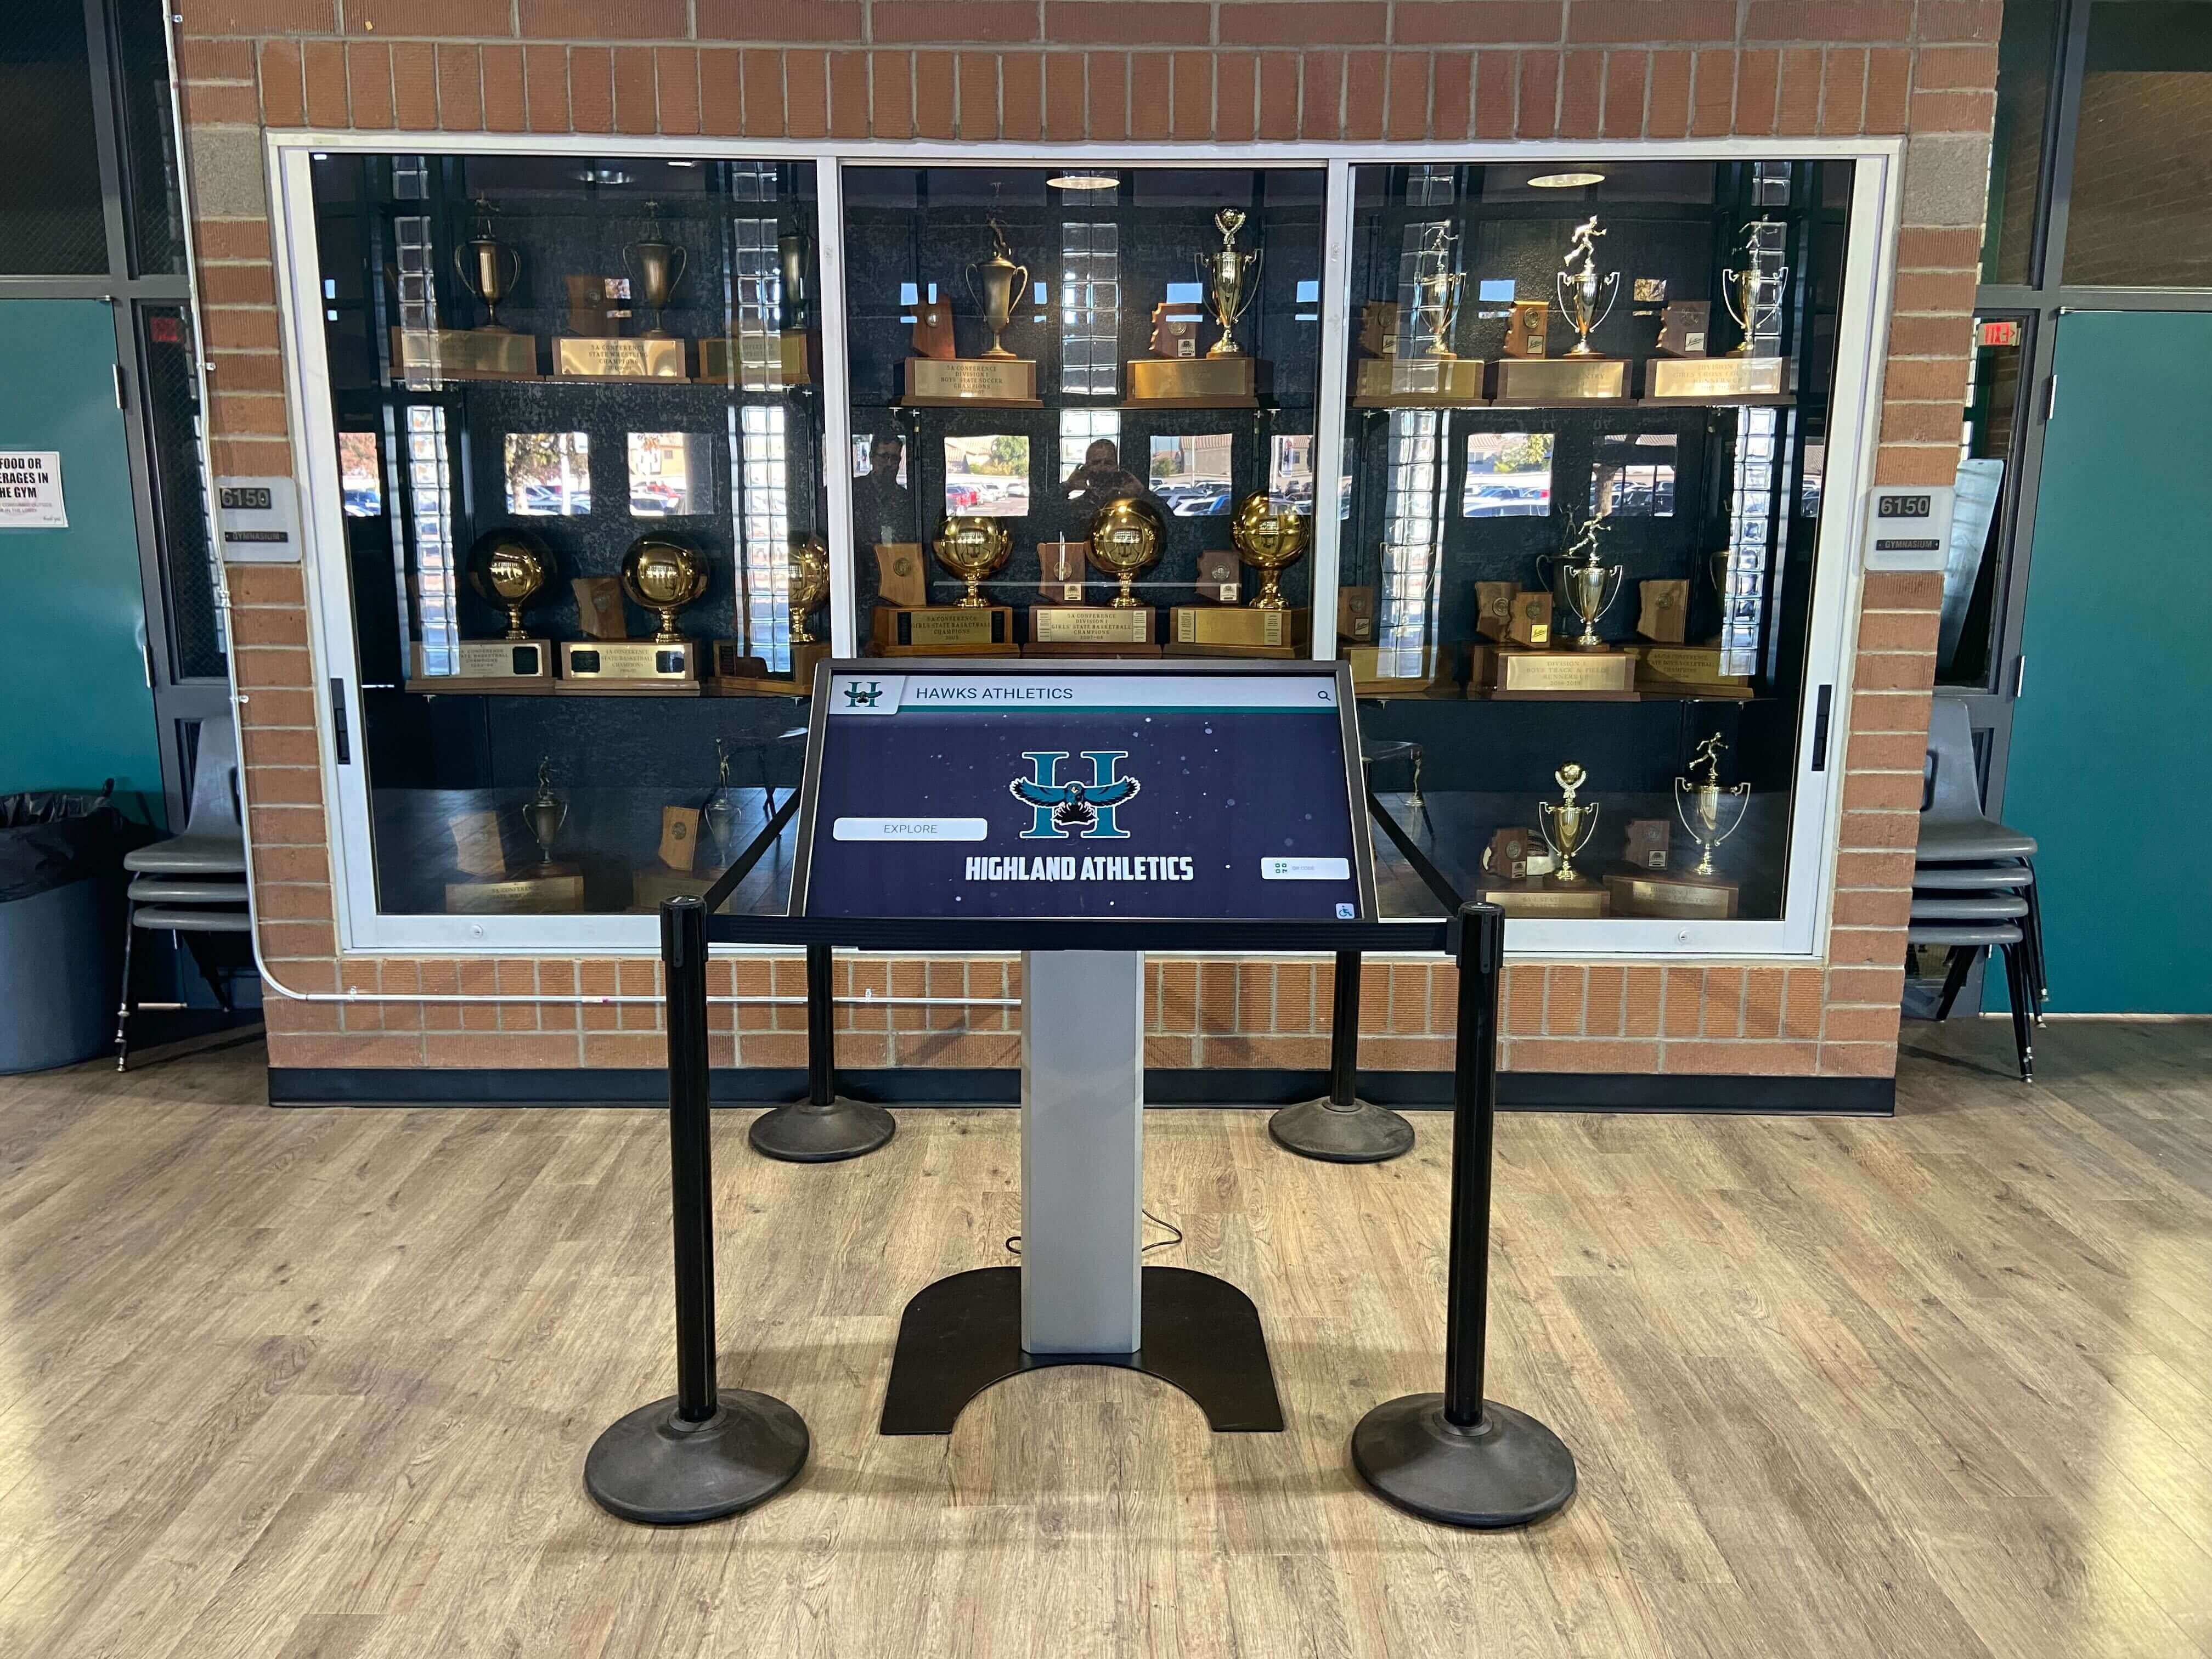
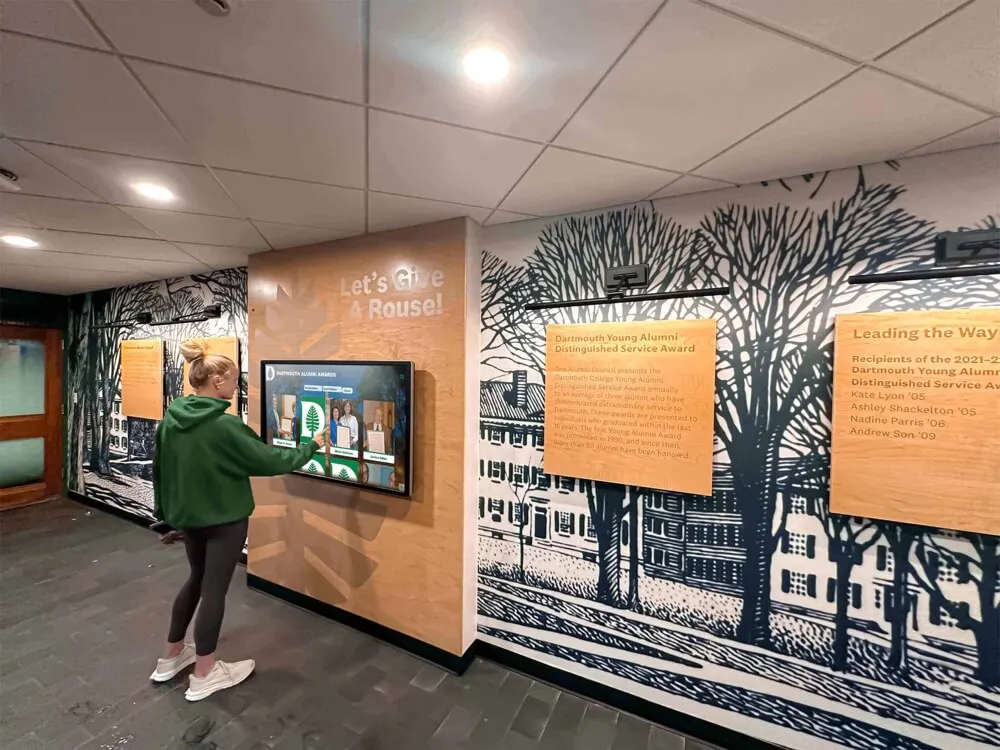
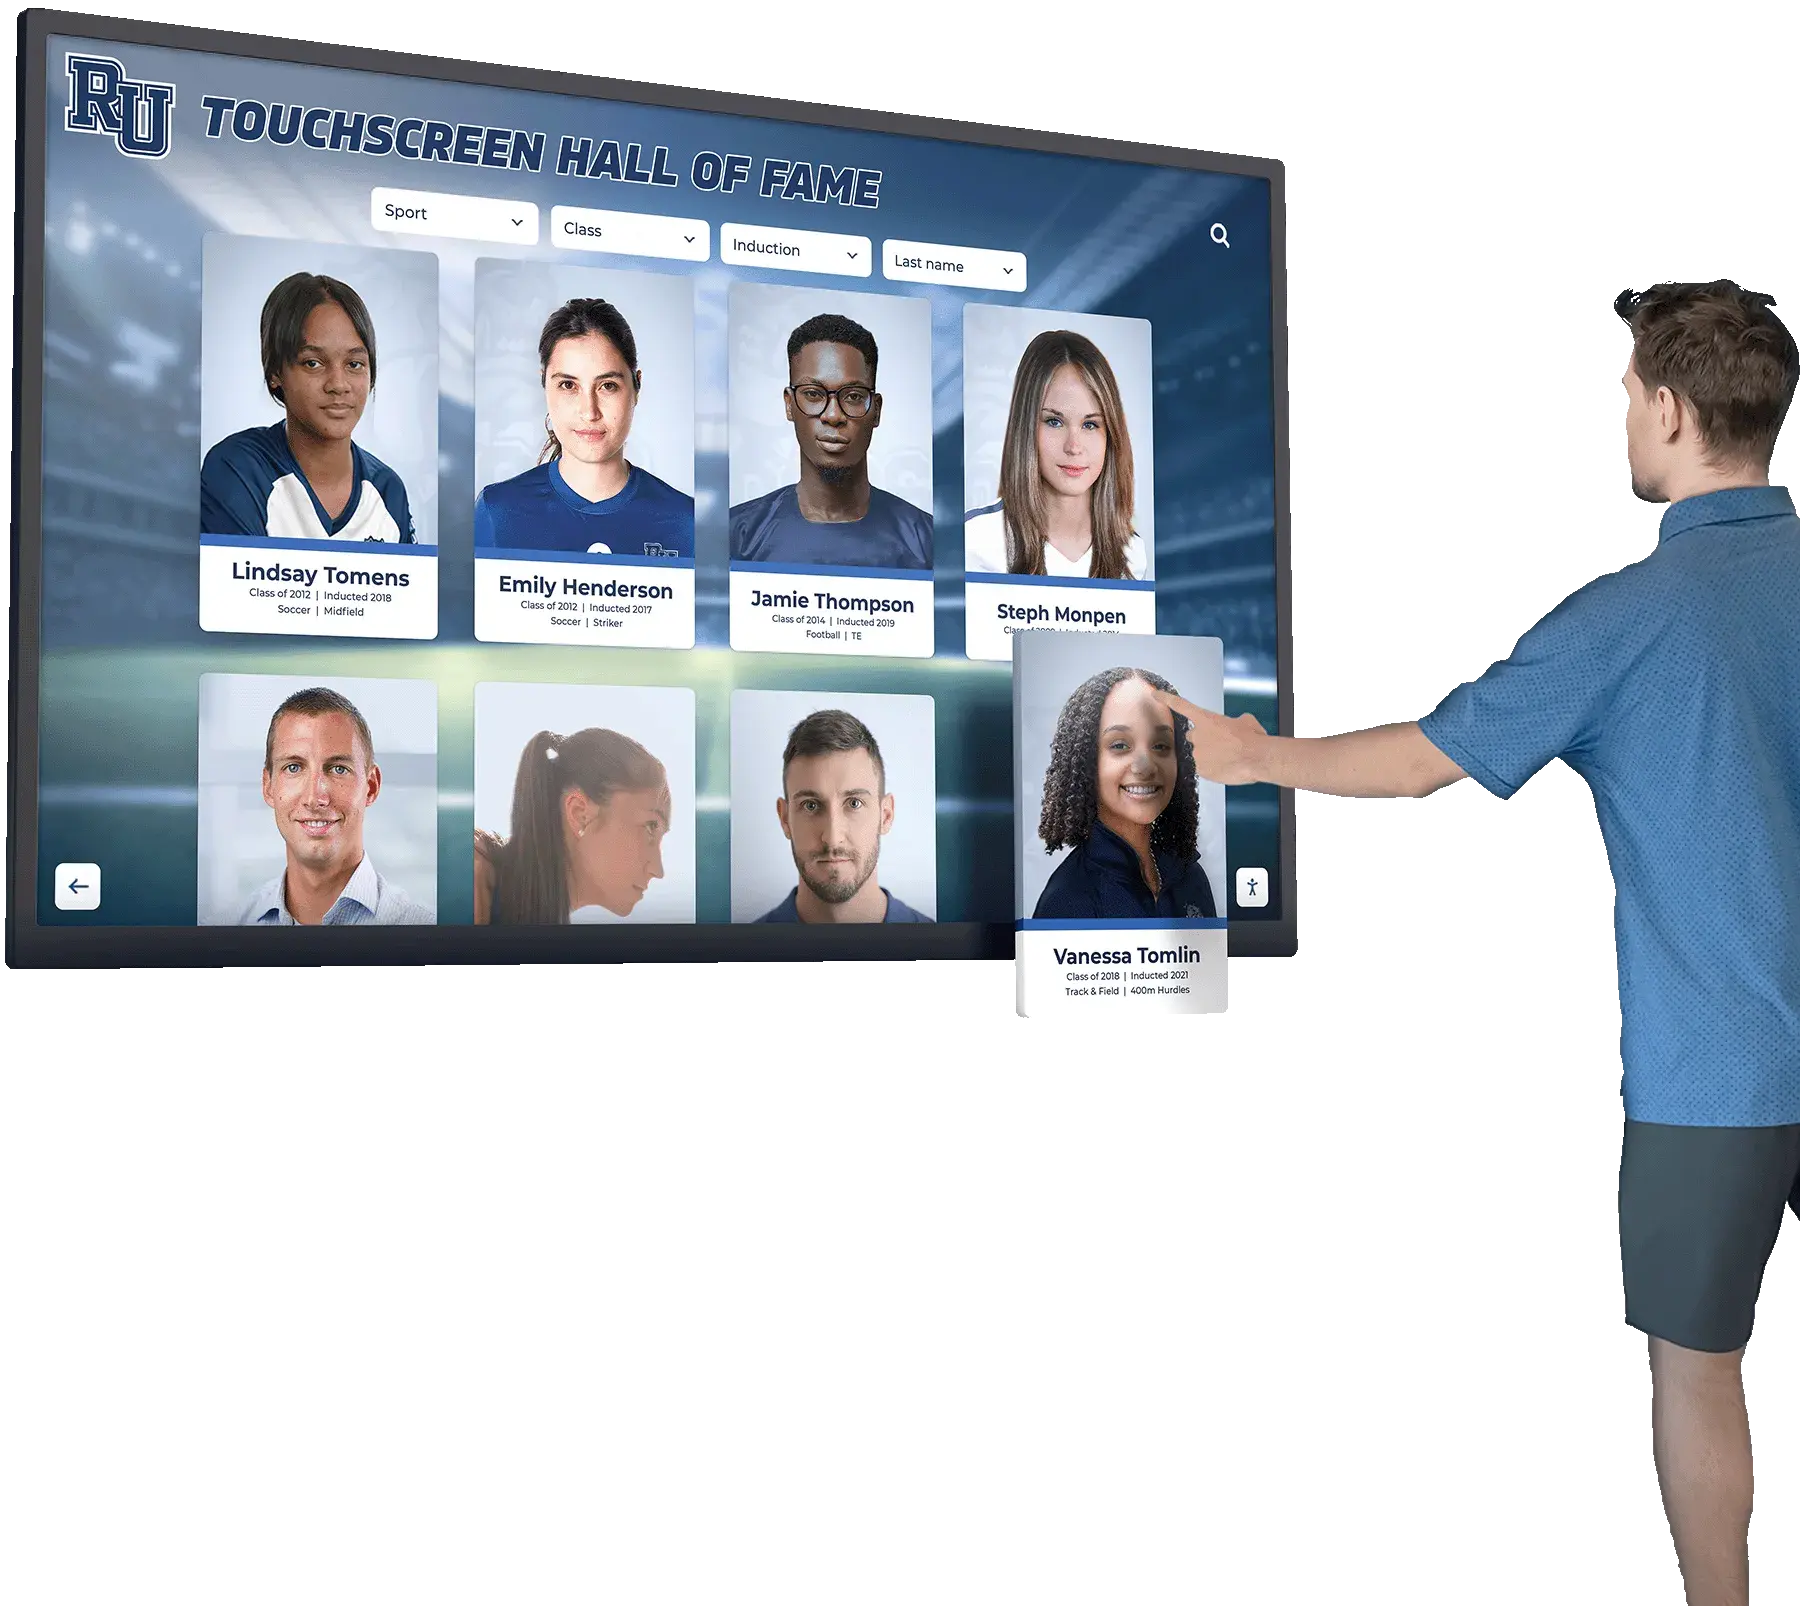
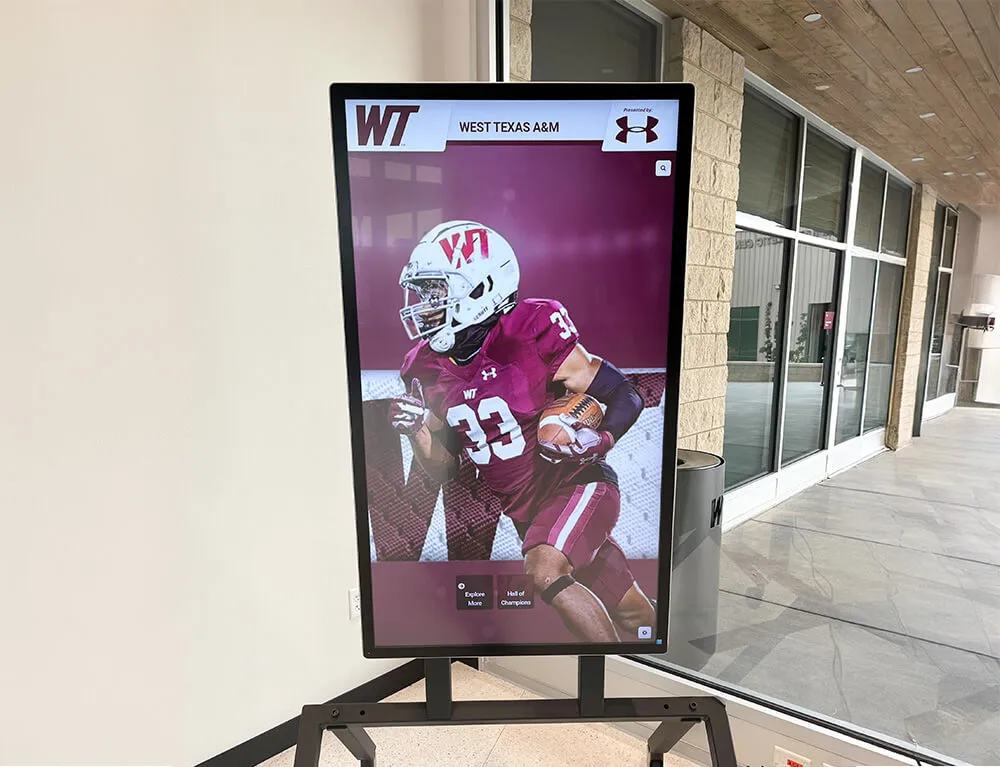
Touchscreen kiosk deployments require CEC configuration at the panel level — the touch overlay hardware does not participate in the CEC bus.
Schools that have transitioned from physical trophy cases to cloud-managed interactive displays — as discussed in virtual hall of fame platform comparisons — frequently discover that the CEC configuration step was skipped during initial installation. Addressing it proactively avoids the support calls that follow when the display fails to wake on Monday morning.
Troubleshooting Common HDMI-CEC Failures
Display does not power on when the media player boots. Check that CEC is enabled at the display level, not only at the player. Verify “Auto Power On” is linked to the HDMI port the player is connected to. On Samsung displays, Anynet+ must be enabled in two places: the main toggle and the per-device setting. On LG SimpLink, confirm the HDMI input is listed as an active SimpLink device.
Display powers on but switches to the wrong input. The media player is not asserting Active Source, or another device sent an Active Source command first. Add a 10-second delay to the Active Source command in the player’s CEC software. Alternatively, enable Input Lock on the display for the recognition player’s HDMI port.
Display randomly shuts off during the school day. Another device on the CEC bus is sending a System Standby command. Use a CEC protocol analyzer (Pulse-Eight USB-CEC adapter with companion software) to identify the offending device. Disable CEC on that device, or use an HDMI repeater that strips CEC from its upstream inputs.
Display turns off when someone plugs in a laptop. The laptop’s operating system sends a “Set Stream Path” CEC command, which many displays interpret as a request to switch input and then enter standby on the previous source. Disable CEC on the HDMI port used by the laptop, or place a CEC-stripping HDMI switch between the laptop and the display.
CEC stops working after a firmware update. Firmware updates routinely reset CEC to factory defaults on commercial displays. Re-apply every setting in the verification checklist above. Enable automatic update suppression in the display’s signage management software if the platform supports it.
Display enters a power-cycle loop at startup. The media player’s Active Source command is arriving before the display completes its boot sequence, causing the display to restart the input negotiation process. Add a 20-second boot delay to the player’s CEC software to allow the display to fully initialize before any CEC commands are sent.
Multi-Screen Recognition Wall Configuration
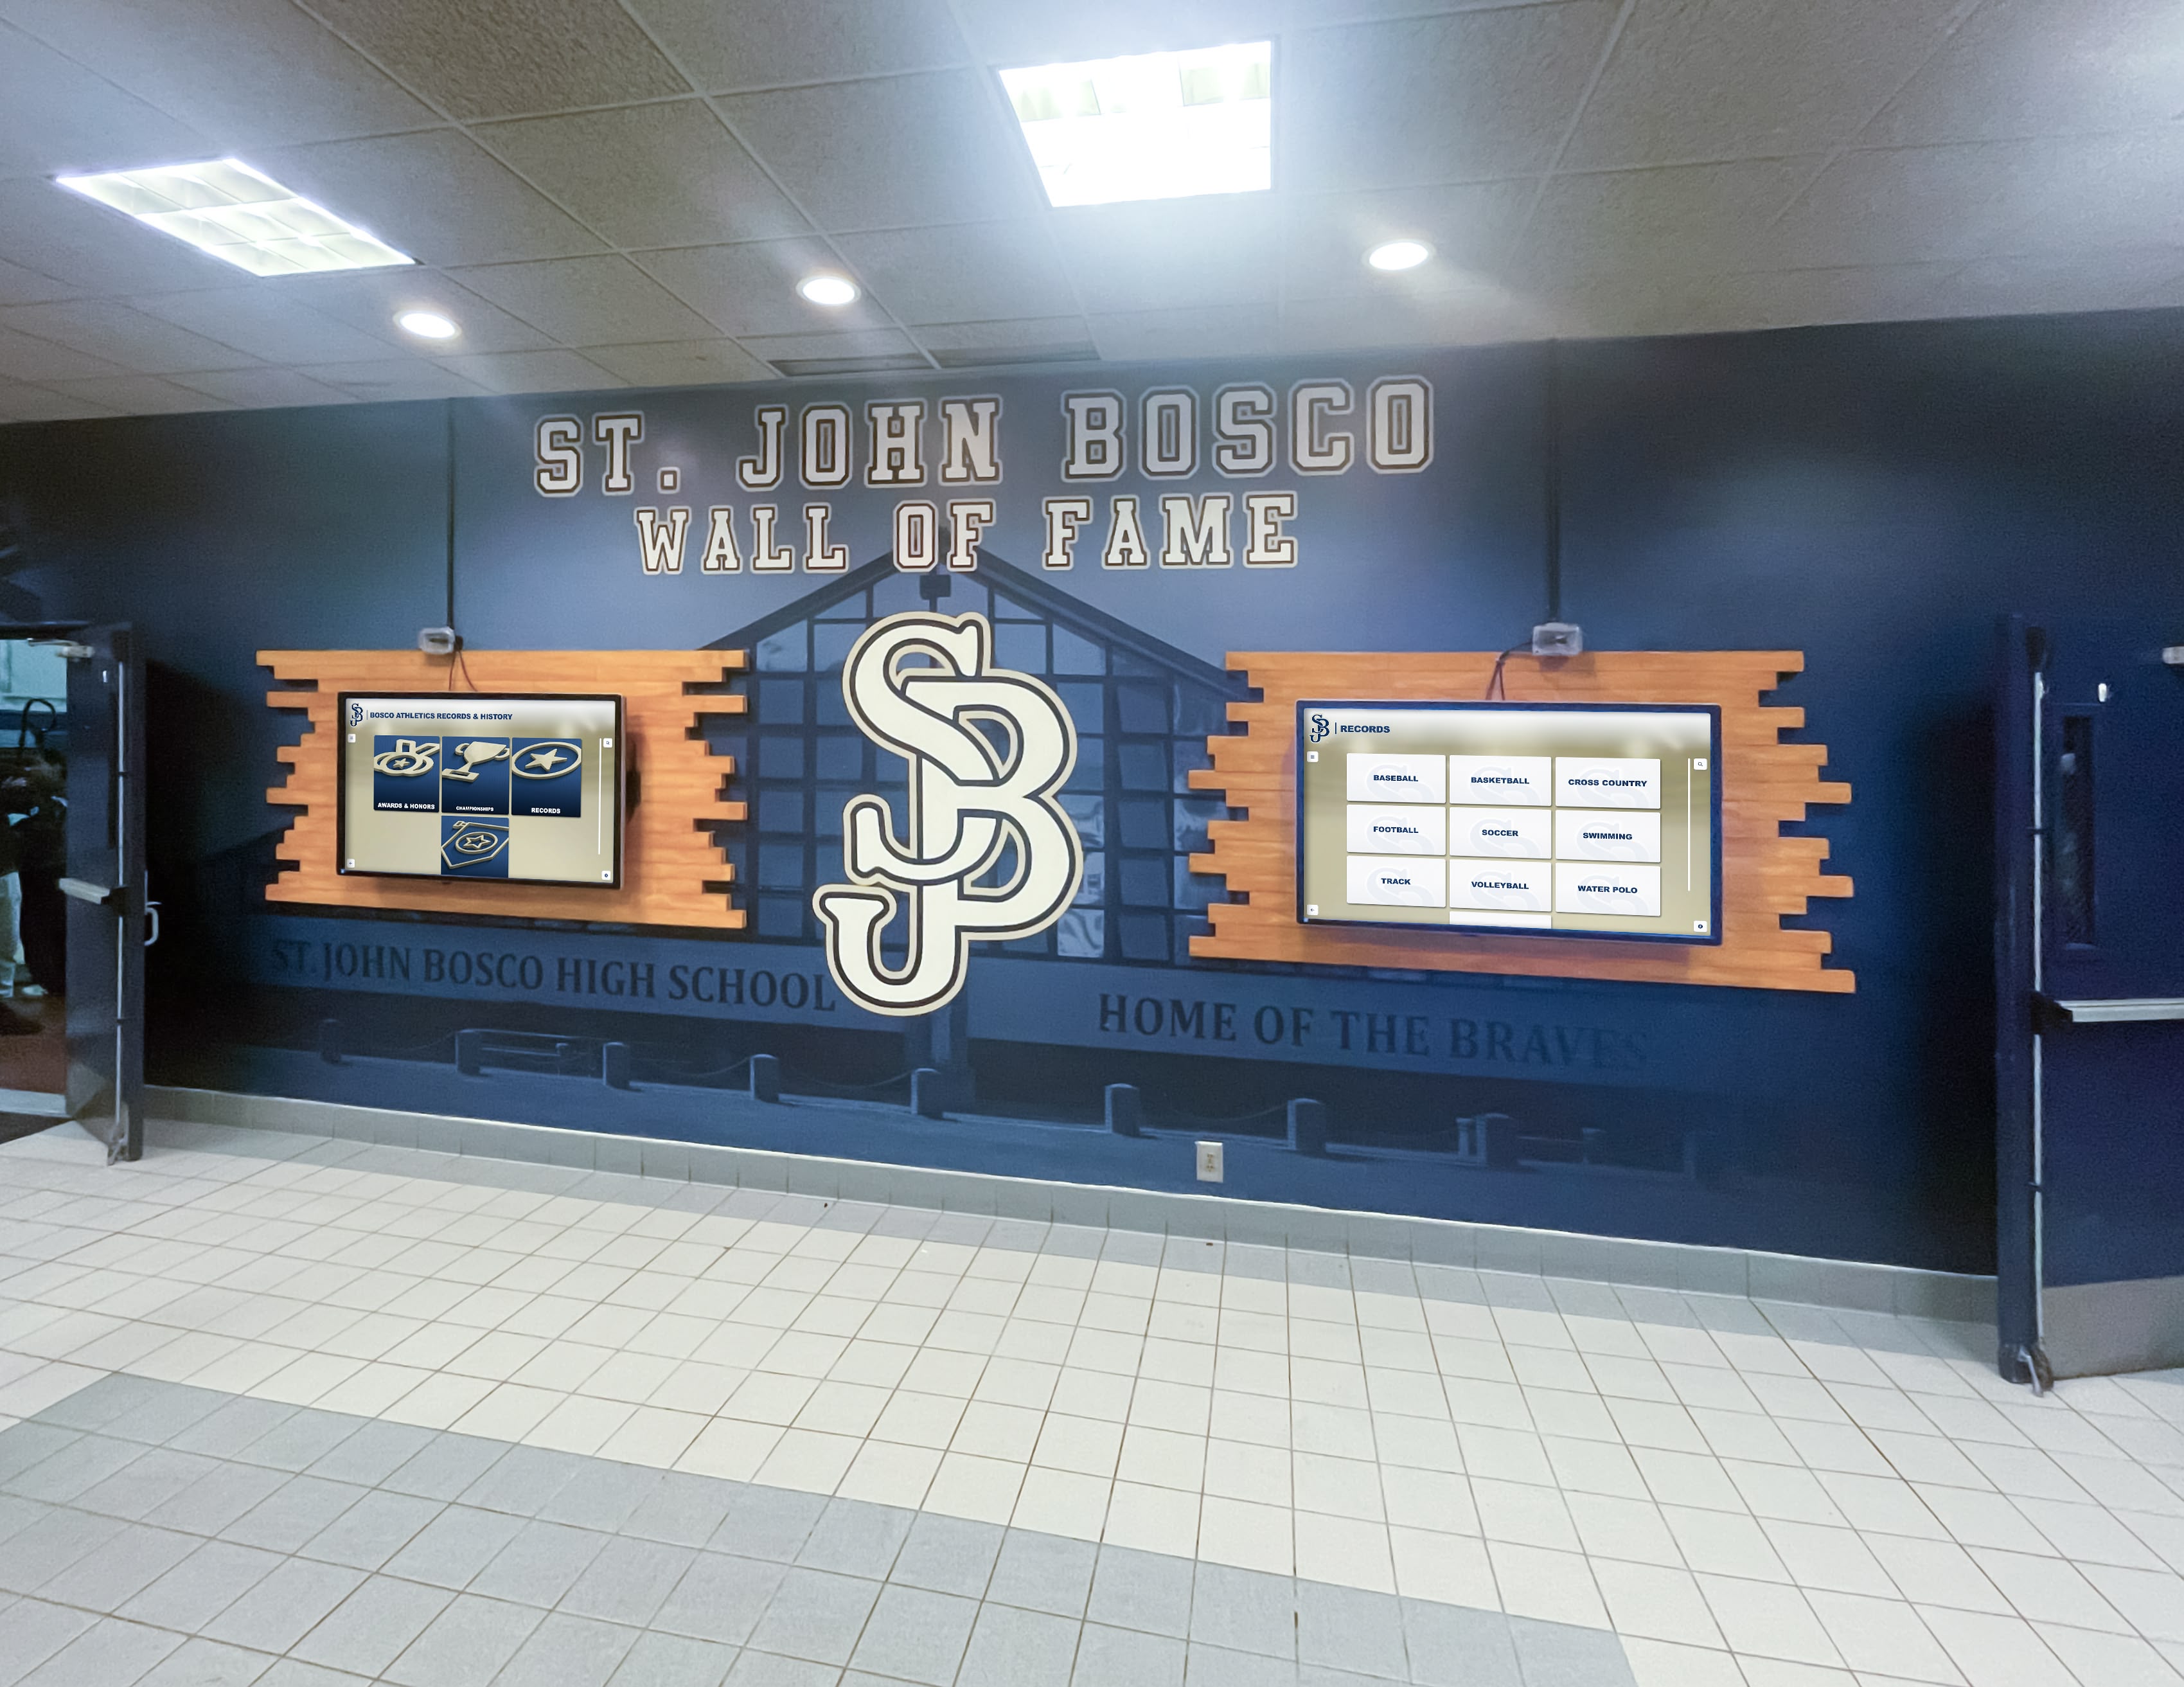
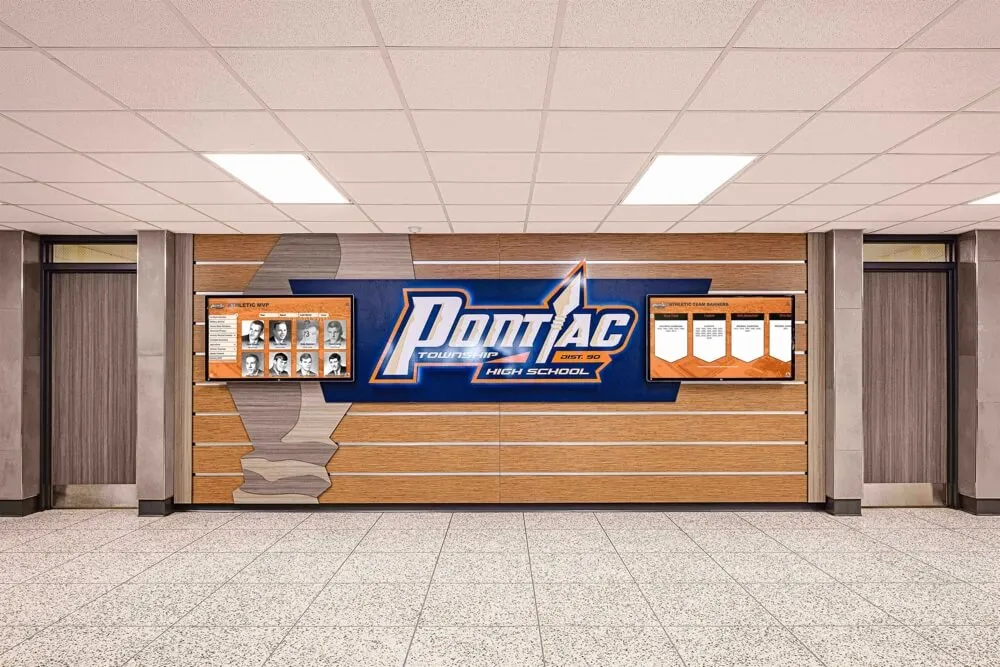
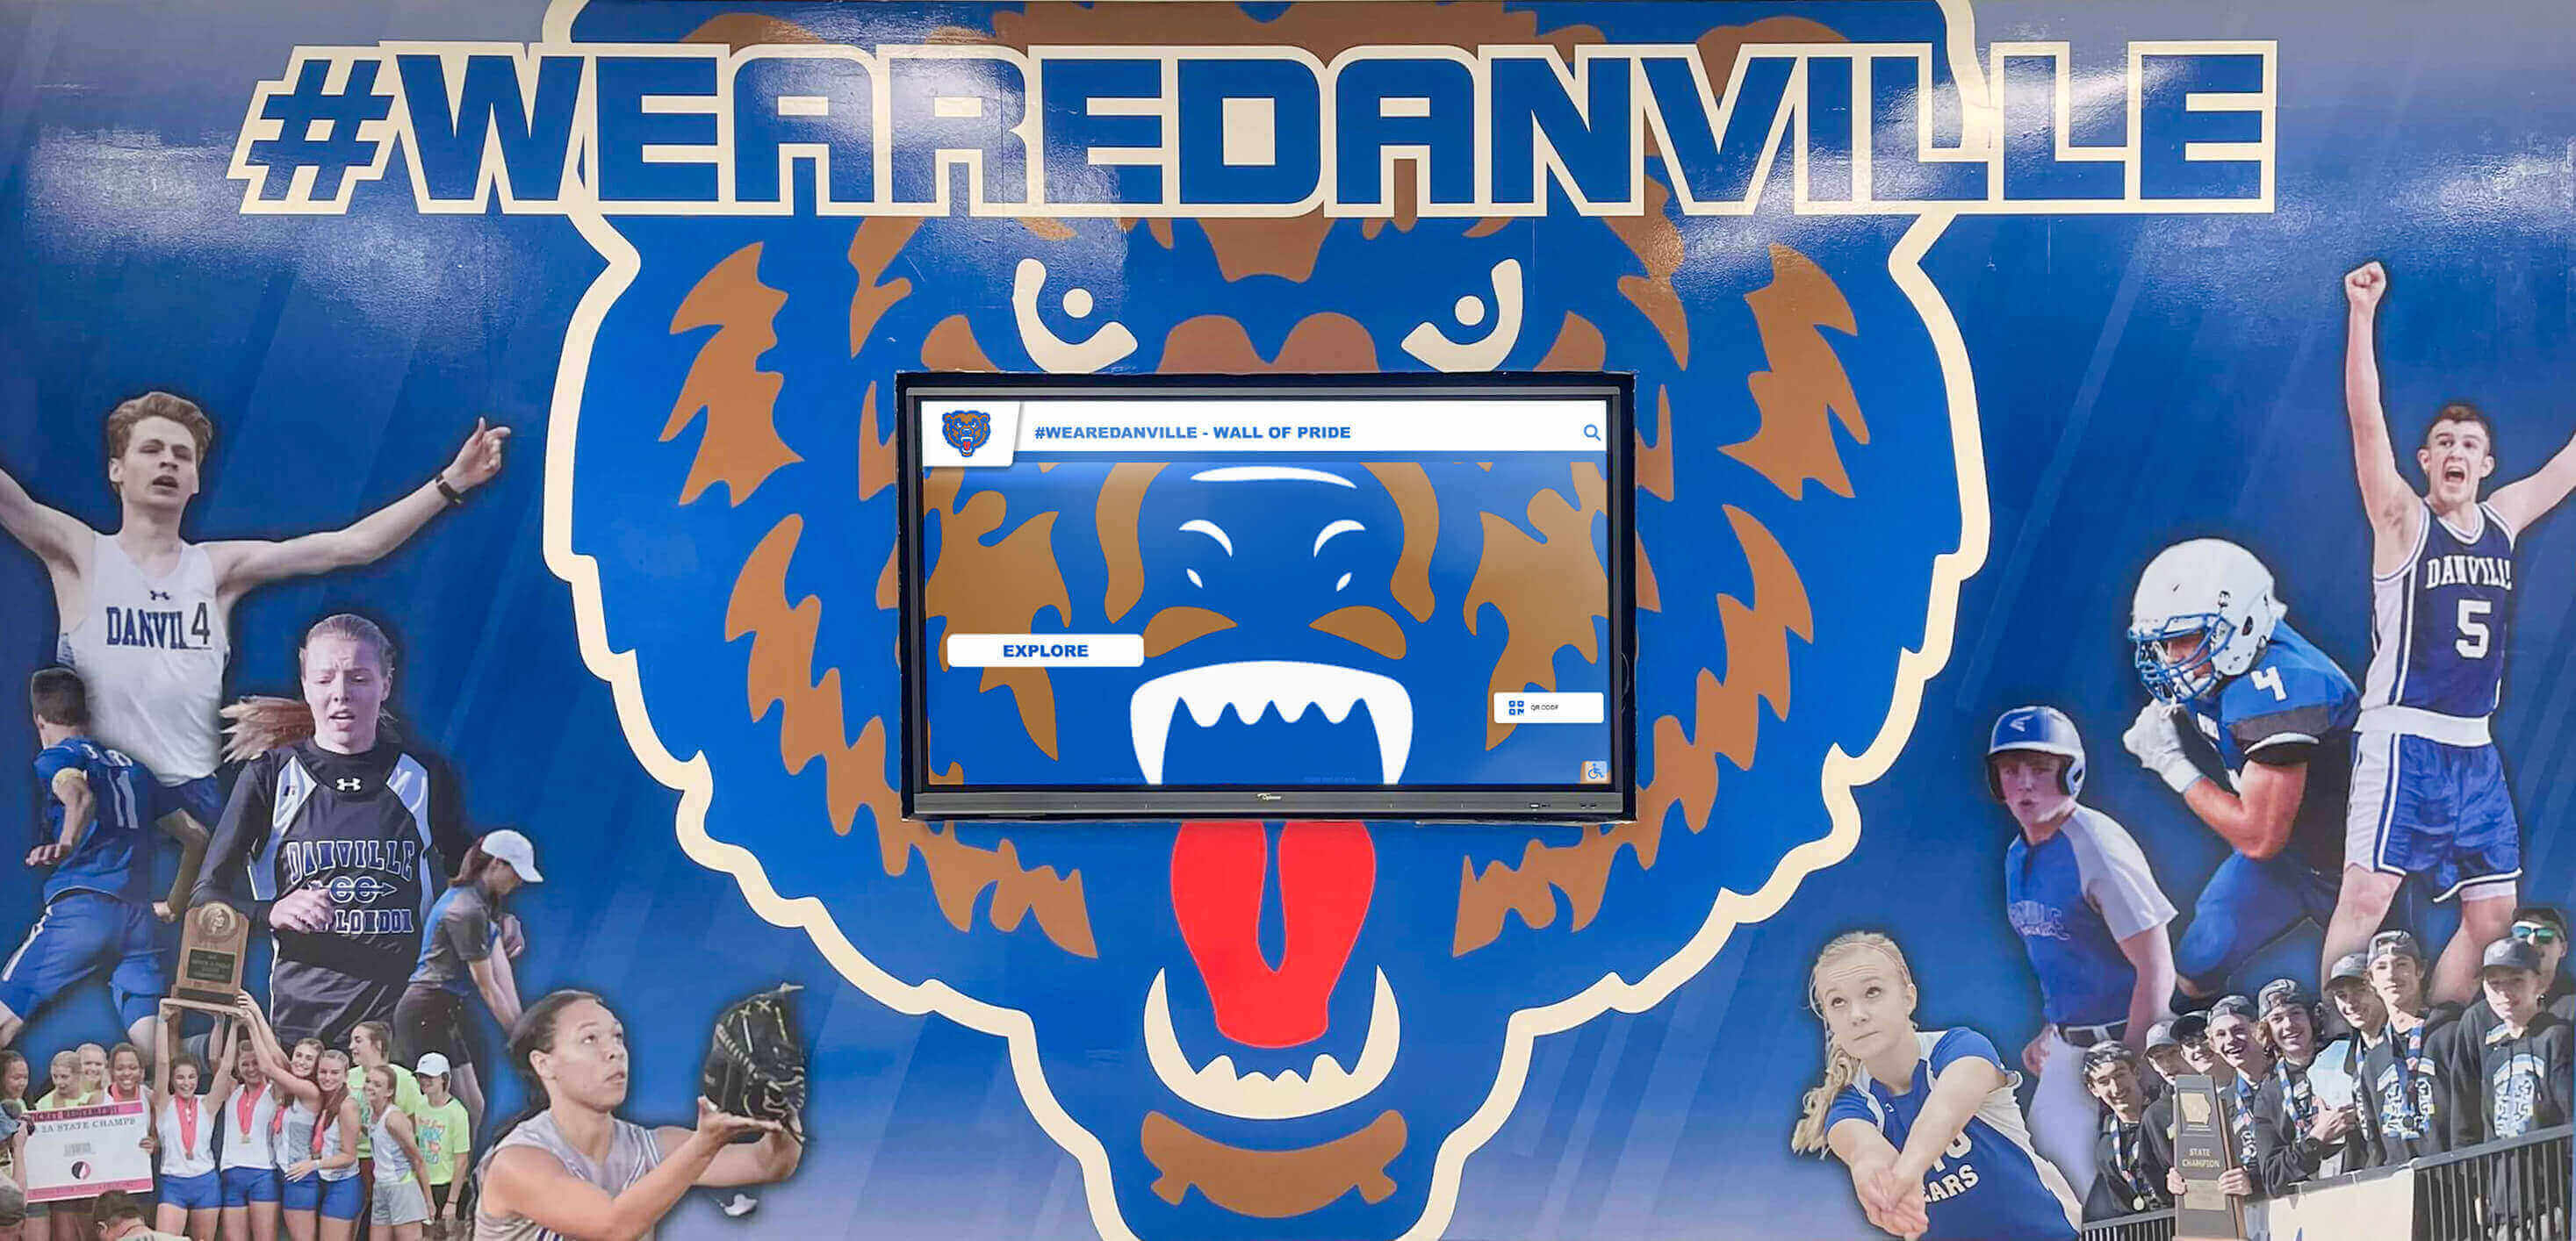
Multi-screen recognition installations require coordinated CEC configuration to ensure both displays power on and hold their inputs simultaneously.
Multi-screen recognition walls present CEC challenges that single-display installations do not. When two or more displays share a HDMI signal chain, the CEC bus becomes more complex:
Assign unique logical addresses. CEC devices on the same bus negotiate logical addresses dynamically. If two displays end up with conflicting addresses — possible in some commercial firmware implementations — commands intended for one display may be executed by both or neither. Use a managed HDMI distribution amplifier that maintains stable CEC addressing across outputs.
Use a staggered Active Source sequence. Do not send Active Source commands to all displays simultaneously. Build a 10–15 second delay between each display’s Active Source assertion to allow the HDMI negotiation to complete cleanly across all panels.
Test the full wall independently. After configuring the full multi-screen installation, disconnect all non-recognition sources and run the boot sequence test three consecutive times. Then reconnect secondary sources one at a time and repeat the test. This isolates which device, if any, introduces input switching conflicts.
Recognition programs built around athletic department fundraising and sponsorship walls often include donor recognition displays and sponsor panels alongside the athletic hall of fame. Each additional display in this ecosystem needs its own CEC configuration pass — a multi-screen installation is only as reliable as its least-configured panel.
Platform Features That Work With Reliable AV Configuration
Reliable HDMI-CEC configuration supports the display hardware — but the display’s value depends on the content and software running on it. The table below summarizes the features a purpose-built recognition platform adds on top of a properly configured AV foundation:
| Feature | Benefit for School Recognition |
|---|---|
| ADA WCAG 2.1 AA compliance | Display meets accessibility requirements without hardware modifications to the mounting or interface |
| Auto-ranking record boards | Athletic records update automatically; no staff data entry required when a new record is set |
| QR code mobile unlock | Visitors access the full digital archive on personal devices, extending reach beyond the physical screen |
| Unlimited inductee entries | No physical space constraint on recognitions — add every honoree across every era |
| Remote cloud CMS | Content updates from any browser without on-site IT access or USB drive delivery |
| Scheduled publishing | New inductees appear automatically on announcement day, coordinated with the AV power schedule |
| Sponsorship suite | Recognition walls include sponsor recognition tiers to support athletic program funding |
For year-end recognition programs and banquet celebrations where new inductees are announced on a specific date, the combination of scheduled publishing and reliable CEC power-on behavior means the recognition display is ready the moment the first visitor walks in — without anyone needing to arrive early to manually start the system.
For content that spans multiple school years — career statistics, all-time records, hall of fame inductee profiles, and tribute displays honoring individual contributions — cloud-managed recognition content stays accurate and current without physical plaque replacements or on-site vendor visits.
For employee and staff recognition programs that share display infrastructure with athletic recognition, the same CEC configuration principles apply: one control authority, locked inputs on unused ports, and software-managed scheduling.
For related guidance on display setup and recognition content strategy, see the digital wall of fame setup overview and the academic recognition programs guide.
Frequently Asked Questions
What is HDMI-CEC and how does it apply to school recognition displays?
HDMI-CEC (Consumer Electronics Control) is a protocol built into HDMI that lets connected devices send commands to each other — power on/off, input switching, and volume control — over the same cable that carries video. For school recognition displays, it allows the media player running recognition software to automatically wake the display and switch to the correct input at the start of each day without requiring staff to manually interact with the TV.
Why does my school recognition display keep switching to the wrong input?
Unexpected input switching is almost always caused by a second device connected to the same display sending an HDMI-CEC Active Source command. Common sources include laptops on a second HDMI port, streaming sticks left plugged in, or Blu-ray players in the same AV cabinet. Disable CEC on all HDMI ports except the one used by the recognition player, or enable Input Lock on the display.
How do I enable HDMI-CEC on different TV brands for a school recognition display?
Every major brand uses a different name: Samsung calls it Anynet+, LG calls it SimpLink, Sony uses Bravia Sync, and Panasonic uses VIERA Link. On commercial signage displays, CEC settings appear in a separate Signage or Control menu — consult the commercial user manual rather than the consumer guide.
Can HDMI-CEC cause a school recognition display to shut off during school hours?
Yes. The System Standby CEC command — which puts all connected devices into standby simultaneously — is the most common cause. Disable “Standby All Devices” in the display’s CEC settings and verify no other device on the HDMI chain can broadcast standby commands to the recognition display.
Should I use the display’s internal timer or software scheduling for school recognition display hours?
Use software scheduling through the media player, not the display’s internal timer. Running both simultaneously creates conflicting CEC commands that cause power-cycling or stuck-standby states. Disable the display’s internal timer and manage all scheduling through the recognition software or media player OS.
See a Purpose-Built Recognition Display in Action
Explore how cloud-managed recognition software pairs with reliable AV configuration to keep your school's hall of fame visible to every visitor — every day — without daily staff intervention.
Request a Free DemoA recognition display that requires manual intervention every morning is a liability, not an asset. With the right school recognition display HDMI-CEC configuration — CEC enabled at the display and player, Active Source asserted on boot, Input Lock active on unused ports, System Standby disabled, and scheduling handled by the media player — your digital hall of fame runs reliably through every bell schedule, every season, and every year.
Complete the verification checklist, document every setting, and re-verify after any firmware update. That single configuration session eliminates the daily friction that keeps recognition displays from doing what they were installed to do: greet every visitor to your school with the history, achievements, and pride that define your athletic and academic programs.